
Home staging is designed to present your home in the best possible light before you put it on the market. And while some sellers might use professional home stagers, this can be an expensive process. So, how can you use home staging decor to transform your home?
Well, you’d be surprised what even the smallest changes can do when it comes to transforming your home, but the ultimate goal is here is to make your property look appealing to as many people as possible. That means de-cluttering, taking down your wedding photos and hiding away your kids’ arts and craft projects (much as you love them!) before you even consider taking marketing photos.
Why Stage Your Home?
So, why stage your home at all? Well, according to a recent report, staging a home can help it sell for as much as 1% to 5% more. But to achieve this, your property needs to look as versatile as possible. That means your rooms should look spacious and work as multifunctional spaces. Each room should be able to be used interchangeably as a bedroom, a home office, a nursery or even a home gym.
So, how can you achieve all this? By using clever and creative home staging décor, of course! Keep reading to find out how to use décor such as staging art to affordably stage your home, fast!
Step 1: Clear out the Clutter
First up, clean! We know, cleaning is never fun, but if you’re moving out eventually anyway then it has to happen at some point, so it may as well be now. Start by assessing what you actually need, what you can throw out and what you can pop into storage or relocate. If you have a storage space on your property you can always put things in storage to get them out of sight. Clutter will be distracting to potential buyers.
Once you have cleared out your spaces you can assess whether anything needs fixing, painting or cleaning. Clean walls, floors, surfaces and even appliances so they look shiny and new. This means you’ll have a super-smooth blank space to decorate. This is important – there’s no point decorating and adding beautiful new home staging décor pieces if the walls are all dirty and dusty!
Clean walls and a fresh coat of paint in a light tone can work wonders in an ageing room. It will open up the property and make it feel fresh, clean, and well-cared for.
De-personalise your spaces by removing anything personal, including photos, clothes, old toys, dog bowls, monogrammed towels or anything sentimental.

Step 2: Decide on Your Colour Schemes
Once you’ve cleared and cleaned your spaces, it’s time for the fun part! Decide on your colour schemes. Depending on how big your home is, you might want to opt for a similar colour scheme throughout the whole home, or you might mix it up slightly in each room.
Our favourite colour schemes are:
- White or light grey with coastal blues and greens
- Dark charcoal with deep jewel tones like emerald, sapphire and rich red tones as well as some metallic touches
- A modern minimalistic white and black base with splashes of primary colour here and there
When it comes to colour palettes your options are endless but it does help to have an overarching theme to tie into your whole home. Remember; you want to appeal to as many people as possible, so it might not be a great idea to paint the walls of each room in a different colour or go with a really bold look.
Step 3: Place Your Furniture
Now you’ll need to decide which furniture to keep and which to store or move. Just remember that when it comes to home staging décor, less is most definitely more!
Keep these tips in mind:
- Try to keep rooms minimal with only a few pieces of furniture
- If you can, use single or double beds rather than queen or king size
- Push furniture against the walls where possible, so that spaces appear larger
- Use slightly smaller décor wherever you can; smaller fridges, smaller desks, and smaller couches – as long as you’re not using sizes that are too tiny!
Again, when it comes to furniture, think clean, simple, and versatile.
Step 4: Add Home Staging Wall Art
Next up, it’s time to add some home staging décor! There are endless options here but one of the easiest ways to decorate is on the walls. Yet finding artwork for staging a home can be difficult, and can be expensive. Luckily, we have plenty of cheap wall art for staging the home!
Do remember, however, that the right home staging décor might help you increase your final sale price by thousands, tens of thousands or even more. That means it’s well worth investing money into creating the perfect space.
Even though you’re trying to appeal to lots of people, you can still select fun home staging wall art. If you’re going to be moving house afterwards, we recommend finding art that can be easily moved, re-sold or re-gifted. Our favourite ideas for home staging wall art are:
- Abstract Wall Art; abstract art comes in every colour and suits practically any home décor theme. It’s also super versatile, making it easy to move from home to home once you sell.
- Landscapes; everyone – young and old – loves a good landscape. Landscape wall art has the power to transport us to different destinations; a distant desert, a far-off mountainside, a tranquil lake; the list goes on.
- Urban Art; this is the perfect backdrop for staging a modern home, whether you choose a night-time cityscape or graffiti art.
- Retro Wall Art; step back in time with a funky retro print. This is the perfect art style for a vintage space or a nostalgic home.
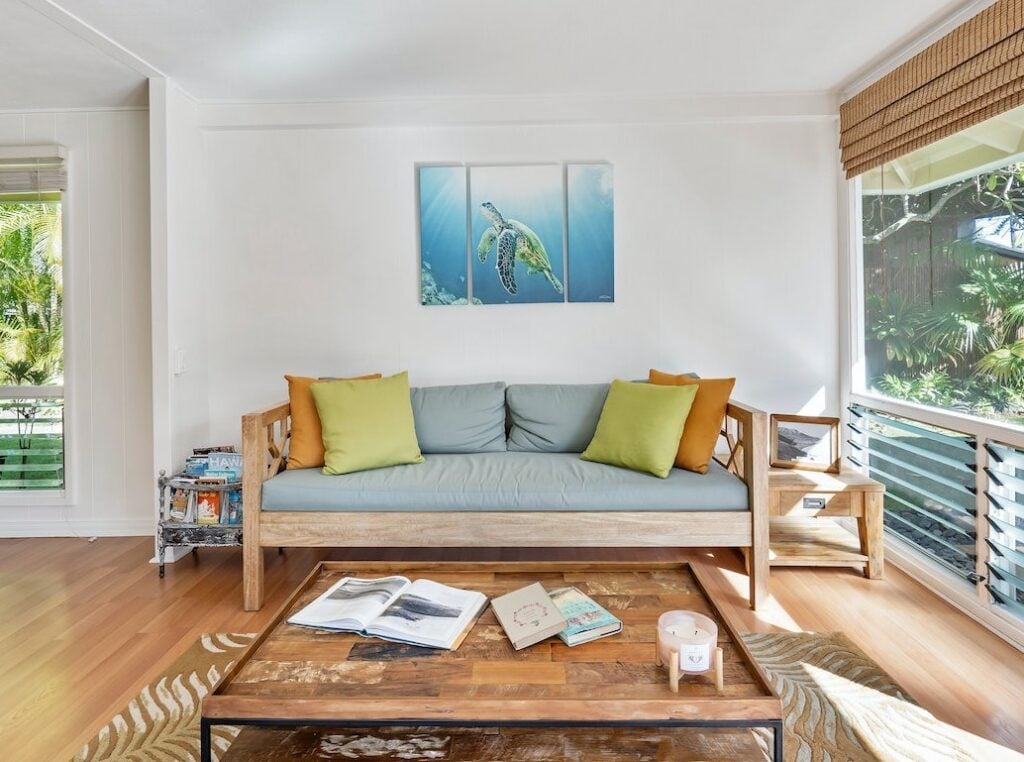
- Split Canvas Prints; make a statement with a large split canvas print. Find a print that complements the colours in your room
The best part about home staging wall art is that you can really choose anything, as long as you don’t have too many conflicting styles in one room.
Much as you might love to create a huge wall art display in your rooms, you don’t want to distract from the property too much. Anyone inspecting the home needs to be able to imagine themselves living there.
If you can only decorate a few rooms, focus on the master bedroom, the living room and the kitchen, as buyers tend to place more importance on these spaces.
Step 5: Customise Your Spaces
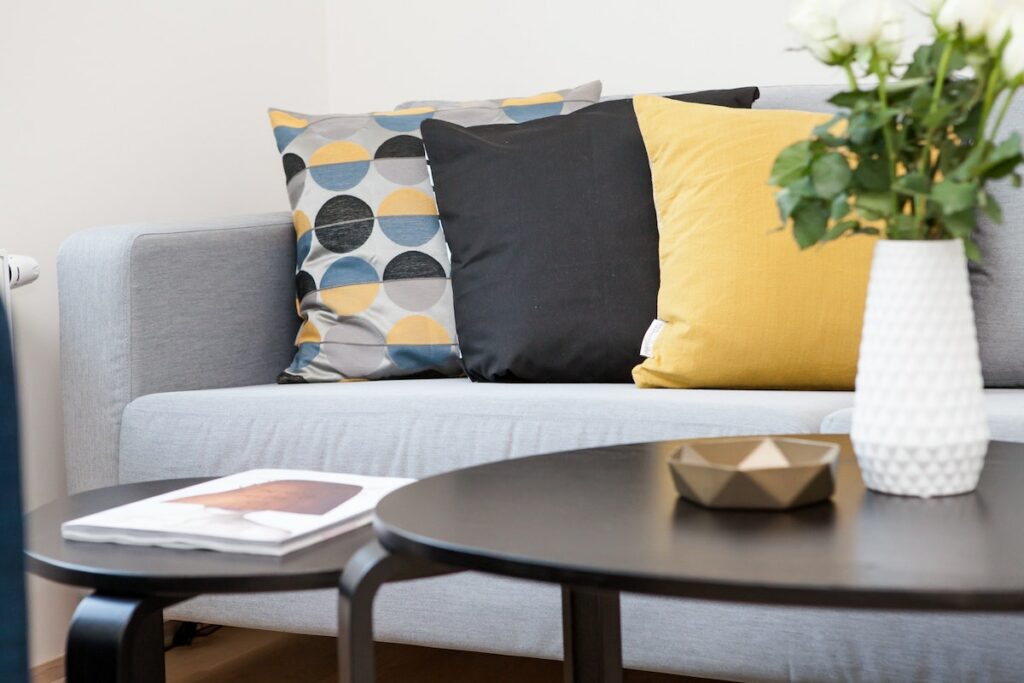
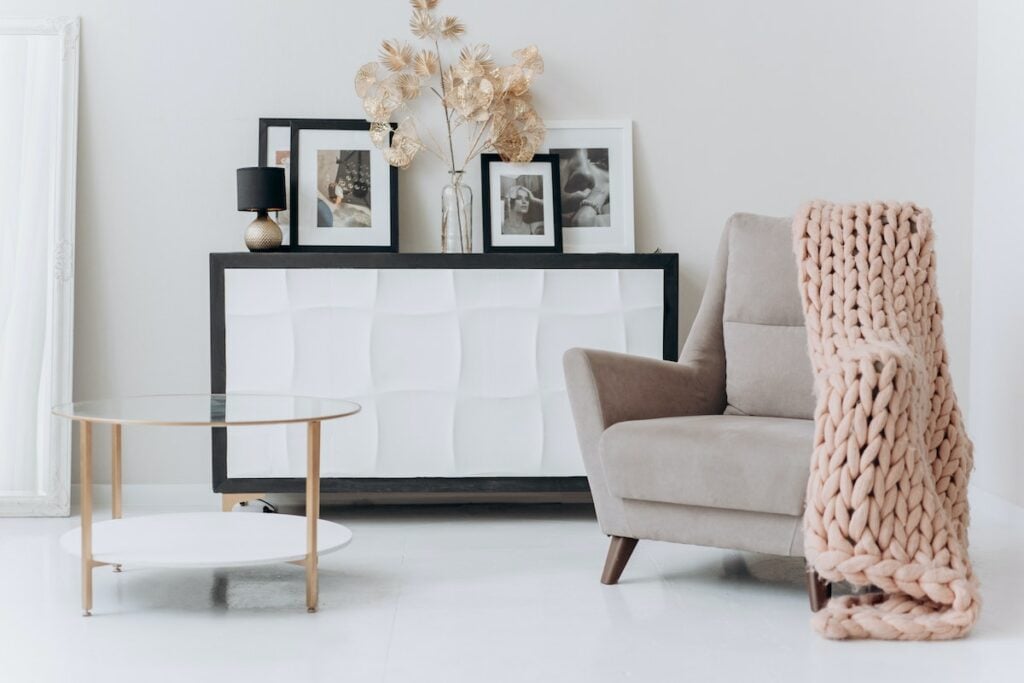
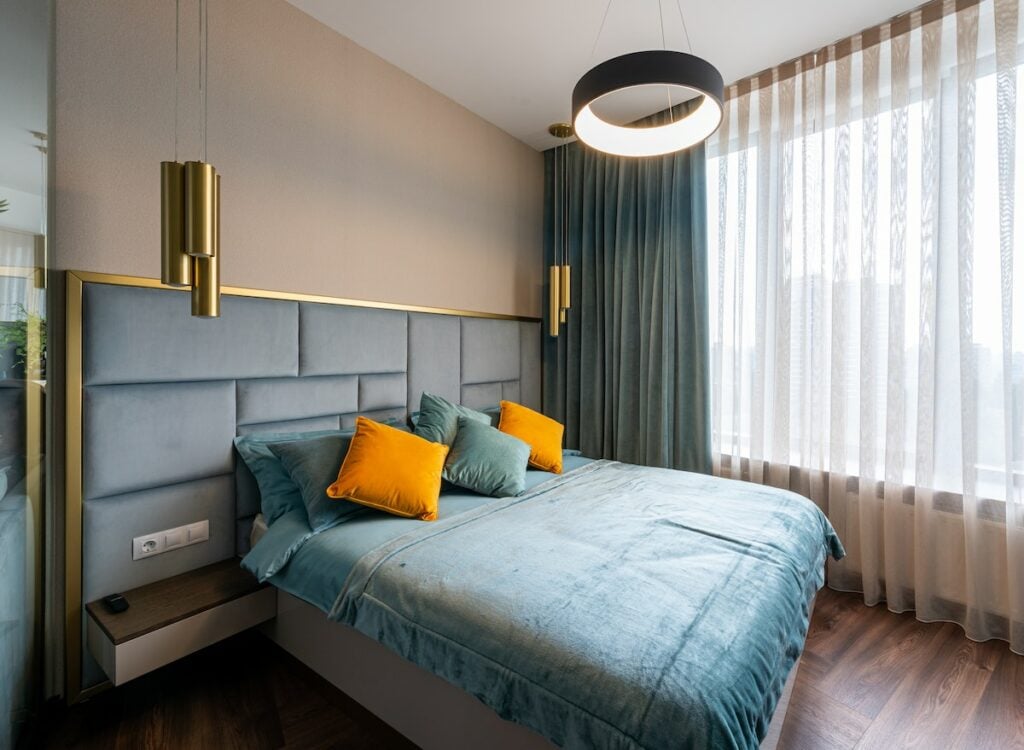
Once you’ve nailed your home staging wall art, it’s time to start on the finishing touches. Think about whether or not you could add a few home décor pieces here and there, such as vases, pillows, or other ornaments to set the tone of each room.
It’s important to define each space. You should never just have a miscellaneous junk room. For instance, if you’re staging a room as a home office, add a few books and ornaments on the shelves.
Or, if you’re staging a room as a nursery, add a teddy in the cot to help the space feel less stark. Home staging décor shouldn’t be personal – you should definitely remove any family photos – yet at the same time, it doesn’t hurt to add some personality!
Photo pillows are a great way to add personality or a pop of colour while having the ultimate amount of control. If you’d like an exact match for some wall art you’ve already chosen, you can create that with our customisable photo pillows. Alternatively, you could create pillows in your colour or design of choice.
We have (quite literally) millions of designs to choose from, from ultra-modern to coastal to vintage and everything in between, so you’ll be spoilt for choice!
In summer add bright cushions. In winter, add darker cushions alongside chunky textured throws to add warmth and depth to your spaces.
Step 6: Set the Mood
Finally, your property is looking fabulous, but don’t forget the final step! Be sure to de-odourise your home, especially if you have lingering smells from pets or mildew. You don’t need to bake a batch of cookies, but candles and fragrance diffusers can keep your home smelling pleasant. Just ensure they’re not too overpowering! Keep your home dry yet well-aired before a showing.
For the finishing touches, if your spaces are looking a little sparse, add some tidy-looking pot plants or flowers to bring some life into your spaces. You could even add a combination of high-quality fake plants and real plants.
Try to add natural elements that reflect the home’s surroundings. For instance, if you live near the beach, add pampas grass or seashells. If you live near the bush, use native wildflowers.

Step 7: Reuse and Recycle
Remember to reuse and recycle your home staging décor if possible. You could re-use home staging wall art, or gift it to someone else. Or you could simply transfer everything to your new abode, which will probably be looking quite empty.
Hopefully, this guide has shown you how easy it is to stage your own home, even if you don’t have an enormous budget. Finding the right home staging décor can be tricky. The important thing is to have fun with it, stick to a consistent theme, and try to find pieces that will appeal to plenty of people! If you’re ever unsure, seek a second opinion or create a Pinterest board to collate your ideas in one place.
All these tips will help you get as many buyers as possible interested and should help you fetch a higher price when it comes time to sell your property.
If you’d like to find epic home staging wall art to prep your home for sale, try our beautiful canvas prints, durable metal prints or chic gallery-style acrylic prints. Or, if you’re not sure what you want yet, browse our wall art designs here.


