Ah, the art of the selfie. It sounds so simple, yet taking a selfie can be tricky to get right. Understanding how to take a selfie means you can up your photography game and get the best photos, without having to rely on anyone else!
In today’s world, the selfie has become an important part of documenting our lives, whether you’re capturing a memory by yourself while travelling to a new city, or you’re taking a large group selfie, or a selfie with your loved one.
That said, if you get the angle wrong, use the wrong filter, or have your eyes shut, your selfie will look all kinds of wrong – why else do some of us have about 50,000 selfies in our phones? Keep reading to discover how to take the perfect selfie and level up your photos!
Step 1: Set Up Your Lighting
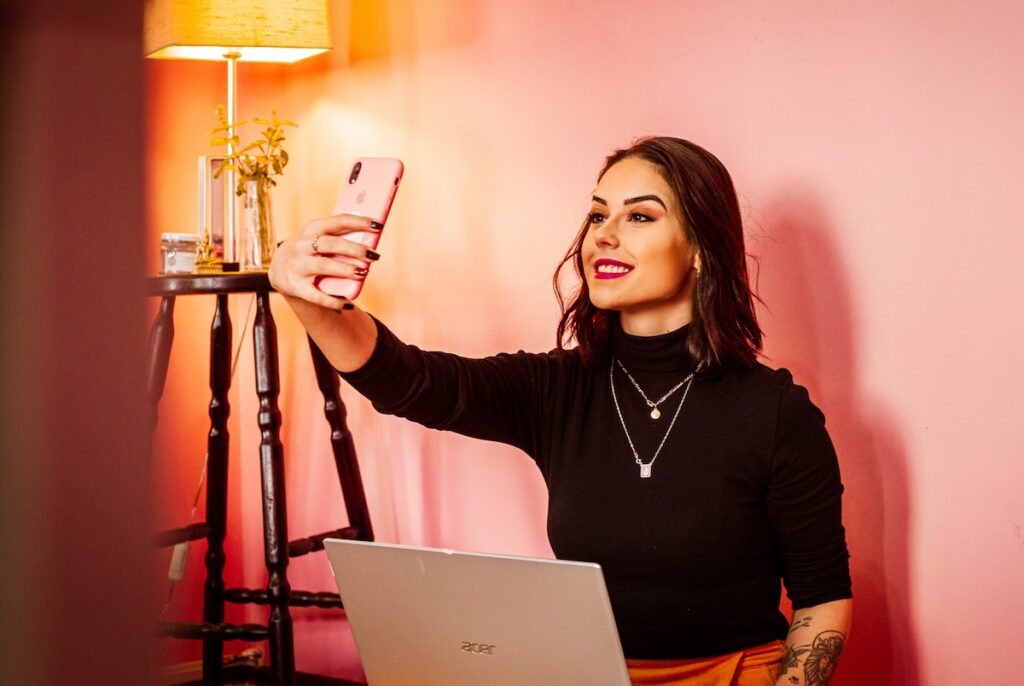
First up, lighting! The most flattering lighting is usually going to be natural lighting, or what photographers call “golden hour”, in the mornings, or early evenings, as the sun casts a soft glow. The sun in the middle of the day can often be too harsh, so try to avoid it! Try to stand near a window to get soft light filtered through the window. Mornings are usually a great time for a selfie as the light is ideal and you’ll be looking fresh.
When taking a photo, experiment with at least three different angles and locations to get the best lighting. Failing that, you can get some great affordable ring lights for selfies from most major retailers. Just avoid harsh artificial lighting, as it can give your skin a sickly glow.
Step 2: Mix Up Your Angles
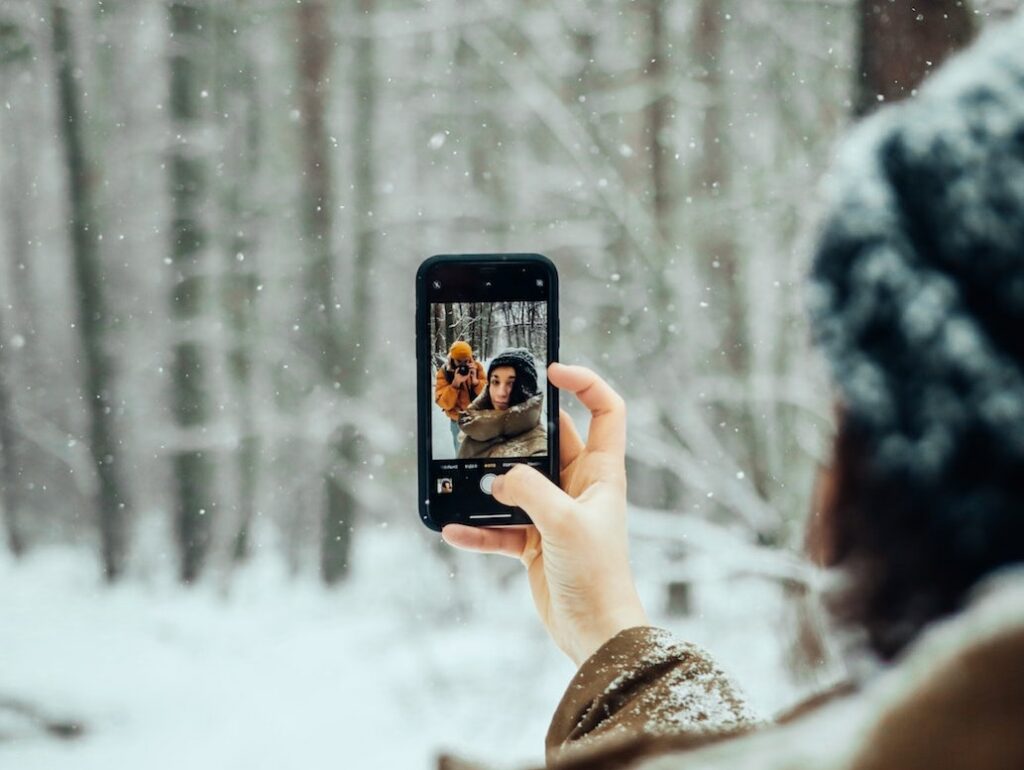
When it comes to how to take the perfect selfie, it’s crucial that you nail your angles. Obviously, everyone is different and we all have different shaped faces. That said, what works for most of us is to tilt your chin slightly downward and put your head slightly to the side.
Try angling your camera from up higher, as sometimes when you capture a photo from below, your neck will look thicker and more unflattering.
Step 3: Strike a Pose
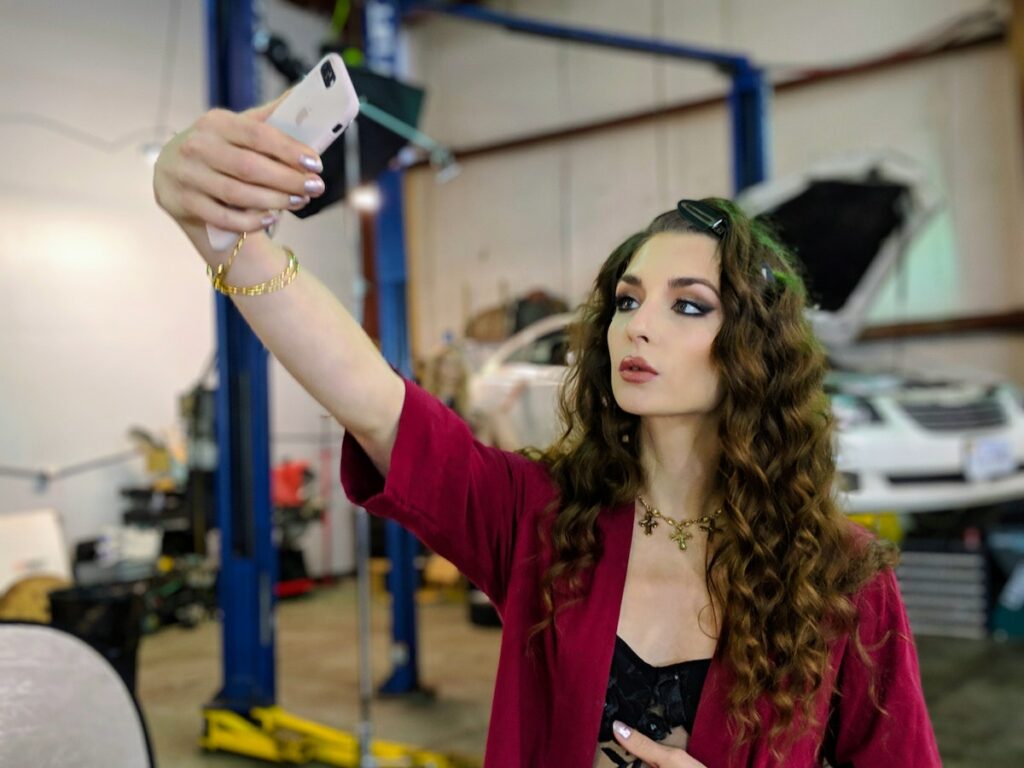
To take the perfect selfie, you’ve got to learn to strike a pose! This might not come naturally at first, but, as with anything else, practice makes perfect. First of all, try lengthening your neck and extending it upward and outward. Relax your shoulders so you don’t look too hunched.
Raise your eyebrows slightly to open up your eyes. This increases the white part of your eye and makes them look more appealing. Loosen up your mouth, or pretend to laugh just before you snap a pic. This will help you lose any tension around your mouth.
Step 4: Use Flash Selectively
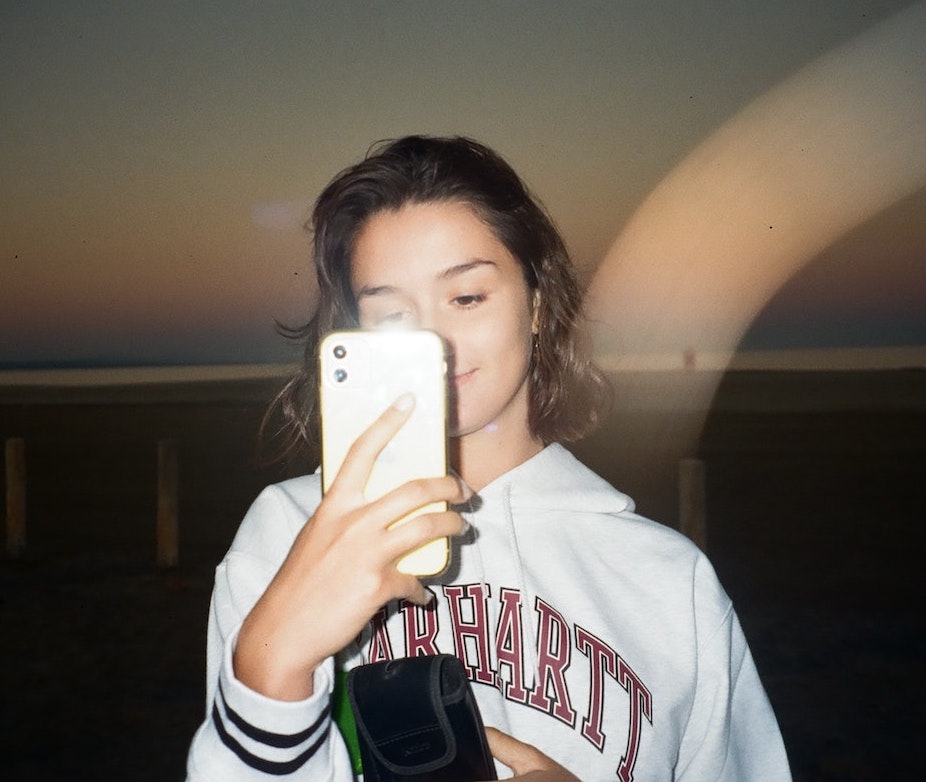
Only use flash unless you really need it, like at night or in really low light scenarios. For close-up selfies, the stark lighting from your phone’s flash can wash you out and even make you look a little ill. Therefore, for the perfect selfie, avoid using the flash function unless it’s really dark!
Step 5: Use Your Eyes
They say the eyes are the windows to the soul. While we don’t know about that, what we do know is that the more you can connect to the camera lens with your eyes, the more powerful your selfies will be!
So, pull a Tyra Banks and learn to “smize” – smile with your eyes! Practice in front of the mirror until you’ve got it right! Try closing your eyes and opening them just before you take the shot. This will make your eyes look natural and fresh.
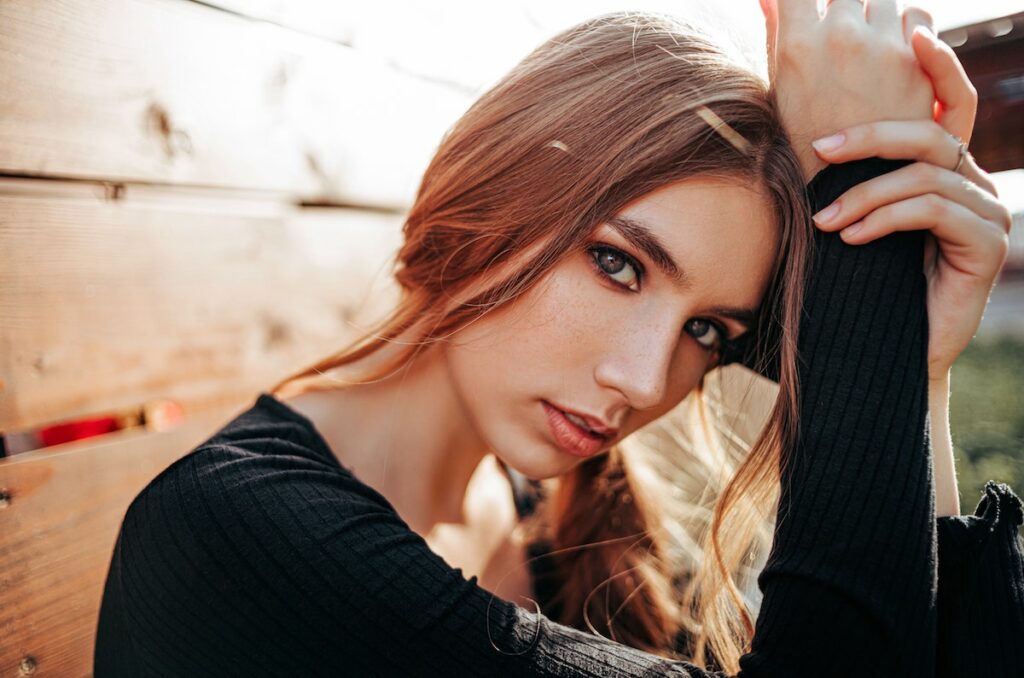
Step 6: Try Something Unique
Once you’ve nailed the “standard” selfie poses, why not try something different? Try out a unique editing effect, an interesting pose, or an Insta-worthy shoot location? Get creative – sometimes just mixing up your selfie location is all the inspiration you need!
Or, play with a prop like a pair of sunglasses, a lipstick, or a hat to embrace some new angles. Or, if you have a furry friend who is willing to pose for pats, they can be great to post with!

Step 7: Try an Editing App – But Don’t Over Edit
When you’re learning how to take the perfect selfie, don’t underestimate the power of editing! Even a few small tweaks can drastically improve the quality of your selfies. And it doesn’t have to take long! In fact, if you have a series of pics, most editing apps will let you apply the same edits to a series, so once you’re happy with your edits you can apply them to all your photos.
So, to get started, decide on your app. Phone apps like Snapseed are great, as is Lightroom for mobile. Apps like Facetune are ideal for touching up your skin tone, eye colour, or completing detailed edits for close-up portraits.
Get our pick of the best affordable photo editing apps or start exploring and see what works for you. Once you have your perfect selfie, why not turn it into a canvas print or a photo block? These can make the perfect gift for your significant other or for your loved ones. With Canvas Factory, you can even import your best selfies directly from Instagram. Check out our range today!


