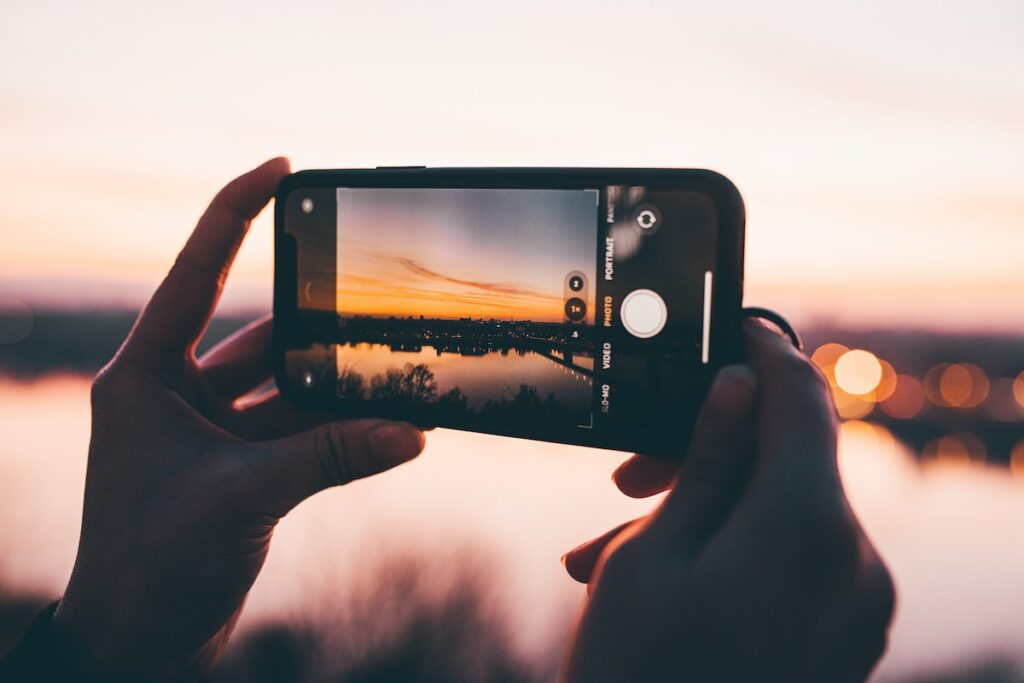
Whether you’ve dabbled in photography or been at it for years, many of us drastically underestimate the power of cropping photos successfully to create a stunning, impactful shot.
Cropping photos is a neglected art in photography but can change the perspective of your shots entirely. It can help you reframe your shots and concentrate your audience’s eye towards the most important elements in the image.
So, rather than thinking about cropping photos as an afterthought, we’re here to help you put some carefully-considered tactics into play. We’ve pulled together our top tips for cropping photos so you can use the cropping tool to your advantage. That way, with a few quick crops, you can transform your images into beautiful, inspiring shots.
Before you get started cropping photos
Before you start cropping, or before you even take your shot, consider what you’ll be needing your images for. Photos needed for printing will need to be as large and high-resolution as possible. When you crop your images too drastically, you’re essentially removing part of the photograph, making it smaller. So, if printing your image is your goal, while you want some room for error, you don’t want to leave an enormous gap around your subject, if possible.
If you’re just starting out with photography, you might want to leave more space around your subject, so you have more room to crop and edit your images afterwards. A more experienced photographer, on the other hand, will be more confident leaving less space around their subject, as they may already have an idea of what they’d like the finished image to look like.
Regardless of what you’re using your images for and how much space you have to crop, even a slight modification using the crop tool can serve to make your images more impactful. This will give all your images a clearer point of view.

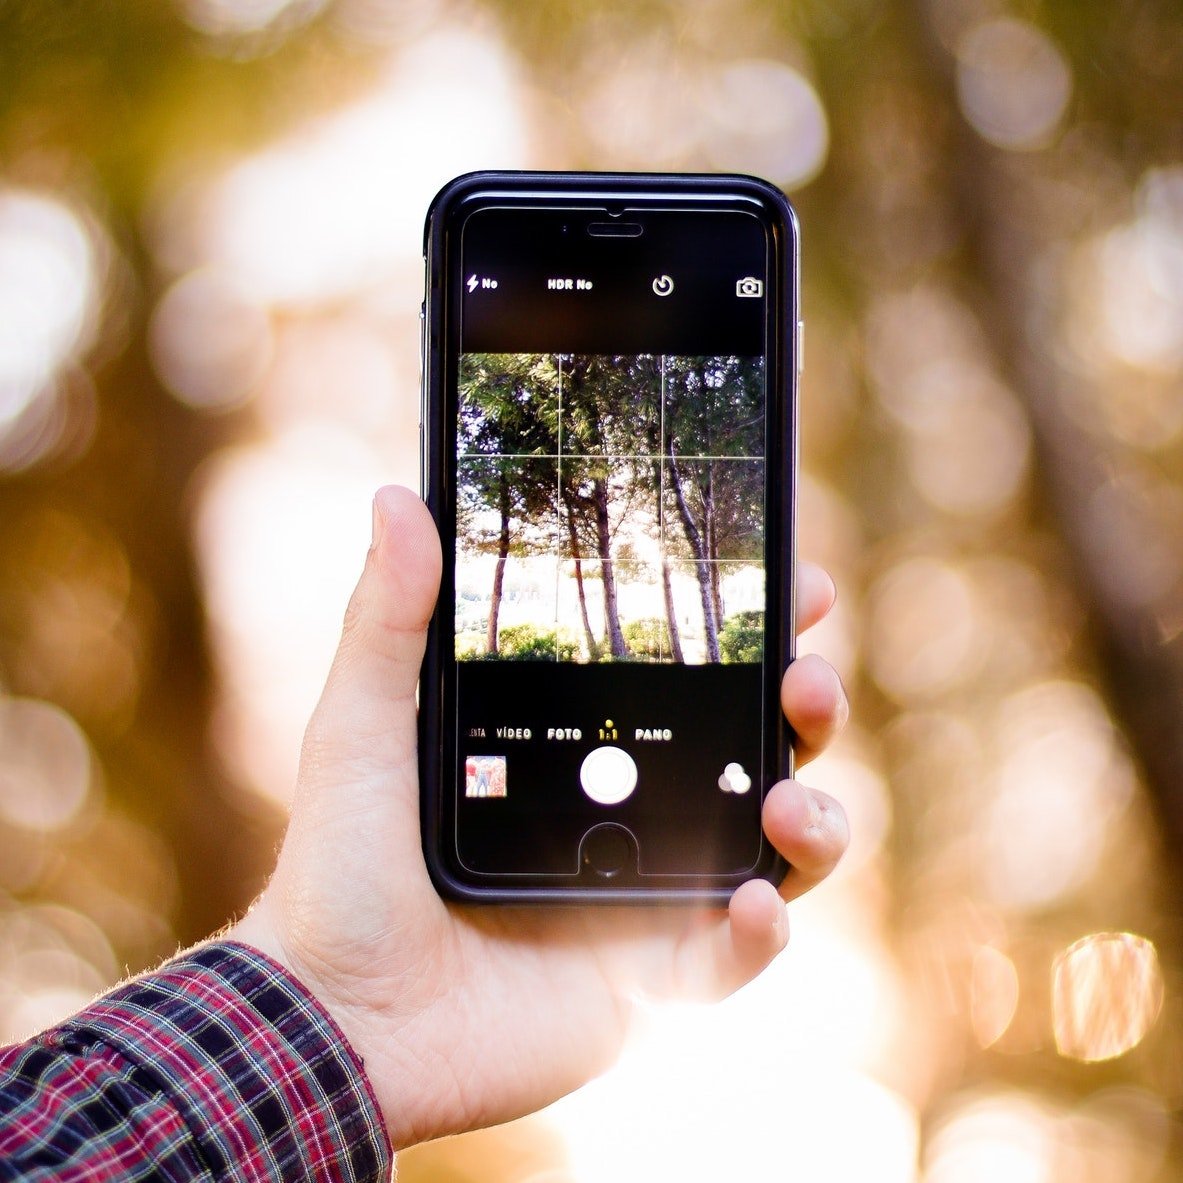
1. Use the rule of thirds
The rule of thirds is meant to be there to guide you during shooting, but it can also be quite helpful to use this as a guide when you’re cropping.
The rule of thirds is simply a compositional technique designed to create balanced images which have clear focal points. It involves mentally dividing up your image into 9 rectangles (a 3 x 3 grid), or some cameras already have this grid function available. The grid will be displayed on the viewfinder to help you shoot, and most editing programs will allow you to overlay this grid while editing.
Using this technique, important elements in your shot should be positioned along the lines or at the intersection of the lines for maximum impact, as our eyes are naturally drawn to these points. Many photographers use this technique without even thinking about it.
If you haven’t applied the rule of thirds while shooting, you can do this easily by cropping your image more closely so it lines up better.
That said, common sense should apply when using the rule of thirds. If you believe your image looks fantastic without lining up your subjects with the lines, use your creativity and embrace something different.
While cropping, you may even decide to crop it in a completely different way than you had originally intended. That’s the great part about photography; rules are meant to be broken and your images can still look fantastic even without applying the rule of thirds!

2. Crop to focus
One of the most common reasons we crop is to create a stronger focus on our subject matter. Before you crop, consider what story you’re trying to tell.
It’s important not to cut out any detail that might contribute to the wider context of the shot. For example, in a professional shot featuring a university lecturer, you might not want to cut out photos of her books in the background, as it helps tells the story of who she is to the audience.
On the other hand, you might want to crop in closer to create focus and build a stronger image. For portraits, this might involve cropping in closer to a subject’s face to show emotion. Ask yourself what the strongest aspects of your image are, and whether they can be improved by cropping out the extra details.
Crop out any extraneous features which aren’t adding to your image, in particular, those details which may be distracting, such as people, objects, or a busy background.

3. Resizing and cropping
Another reason we may need to crop is that we might need to change the shape of an image to suit its final requirements. Therefore, a rectangular image may need to be changed to a square or vice-versa.
We want to ensure that when we resize our image or change it to a different shape, we don’t change the impact of the image or lose picture quality.
Try to crop and resize slowly and carefully, and if you’re changing an image from, say, landscape proportions to square, try to stay as close as possible to your original proportions so that you achieve your desired effect without compromising the picture quality.
4. Crop for dramatic effect
Often with larger images, we have the luxury of being able to do a more dramatic crop for maximum effect. This might mean things like:
- An extreme close up of a person’s face, or, for instance, a couple, to establish maximum emotional impact. Ideally, you want to focus in on the subject’s faces to capture their emotions
- A creative crop where you might deliberately crop part of your subject out of the frame to create interest or to show the subject from a new perspective
- Cropping your image tightly so that the subject is all that can be seen in the shot

5. Crop slowly
It goes without saying that, when cropping, it’s important to start by duplicating your image file. This means you can freely make changes to a duplicate without worrying about changing the original image.
Don’t go crazy cropping; only remove what is necessary, removing the side or sides necessary slowly, until any unnecessary detail has been removed.
6. Don’t always centre your subject
There’s something beautiful about a subject that is centred and perfectly symmetrical. Yet, at the same time, a subject that is fixed to the sides can also look beautifully balanced, particularly if you use the guiding grid lines we mentioned earlier in the “rule of thirds”. In some scenarios, this can also give your image a more unique look than a centred shot.
To mix things up even further, you could experiment with moving the subject out of frame slightly to create an interesting look.
7. Beware when cropping portraits
When cropping photos of people, be mindful about where you crop, or you could end up with some very awkward-looking shots.
Some general rules when cropping portraits;
- Don’t crop high on the neck. Try to leave some room so you can see the neck and shoulders
- Try not to crop anywhere that bends; including at the knees, elbows and above the foot
- If you want to show more of the face in greater detail, don’t crop the bottom. You can try to crop some of the top instead, removing some of the top of the head

8. Keep things consistent when cropping a series of images
When creating a series of images, think about what you’ll be using them for, and whether or not you need a variation of shots. Consider if you’re trying to tell a story, or build a mood.
In some scenarios, you might want vastly different shots to show a variety of scenes, but you may also want similar images that are cropped consistently, especially if you’re shooting for someone else who may want to choose their favourite images from a series.
There you have it; our best tips for cropping photos. Now you can transform your photos and create magic with some clever cropping edits. Once you have created your perfectly-cropped images, you can create stunning photo prints and gifts with Canvas Factory. Click here to browse our range.