With the rise of social media, food photography has exploded in popularity over the last few years. Any aspiring chef or renowned foodie needs to have a strong digital presence, with an impressive social media profile or website and accompanying images, to breathe life into their dishes. But everyone starts somewhere. Most well-known chefs and foodies don’t start with the greatest food photography shots, because, for many of them, food is their speciality, not photography. Many of them start with basic food photography skills and hone them over time, picking up helpful food photography tips along the way.
But even for the most rudimentary beginner, food photography can be helpful. Who wouldn’t want to show off the dishes they have painstakingly created using beautiful imagery? To show the steam rising from their pastries and the tantalising sauces dripping from their desserts?
Starting out can be difficult, especially when you’re the chef, photographer, and the stylist. The food photography we see in magazines comes to life from the efforts of an entire team. Yet, in a way, leaving it all down to one person makes things much easier. If you’re just beginning as a photographer, it can be frustrating trying to capture your beautiful cooking to its advantage, but, like anything, it just requires a bit of practice.
No matter why you need food photography; whether it’s just for a few snaps on Instagram, or you’re looking to become a high-profile chef or food photographer, we’ve compiled our top food photography tips so you can show off your cooking skills in the best light.
So, what makes great food photography?
Great food photography is highly subjective. Like any art form, we all appreciate a variety of different style aesthetics.
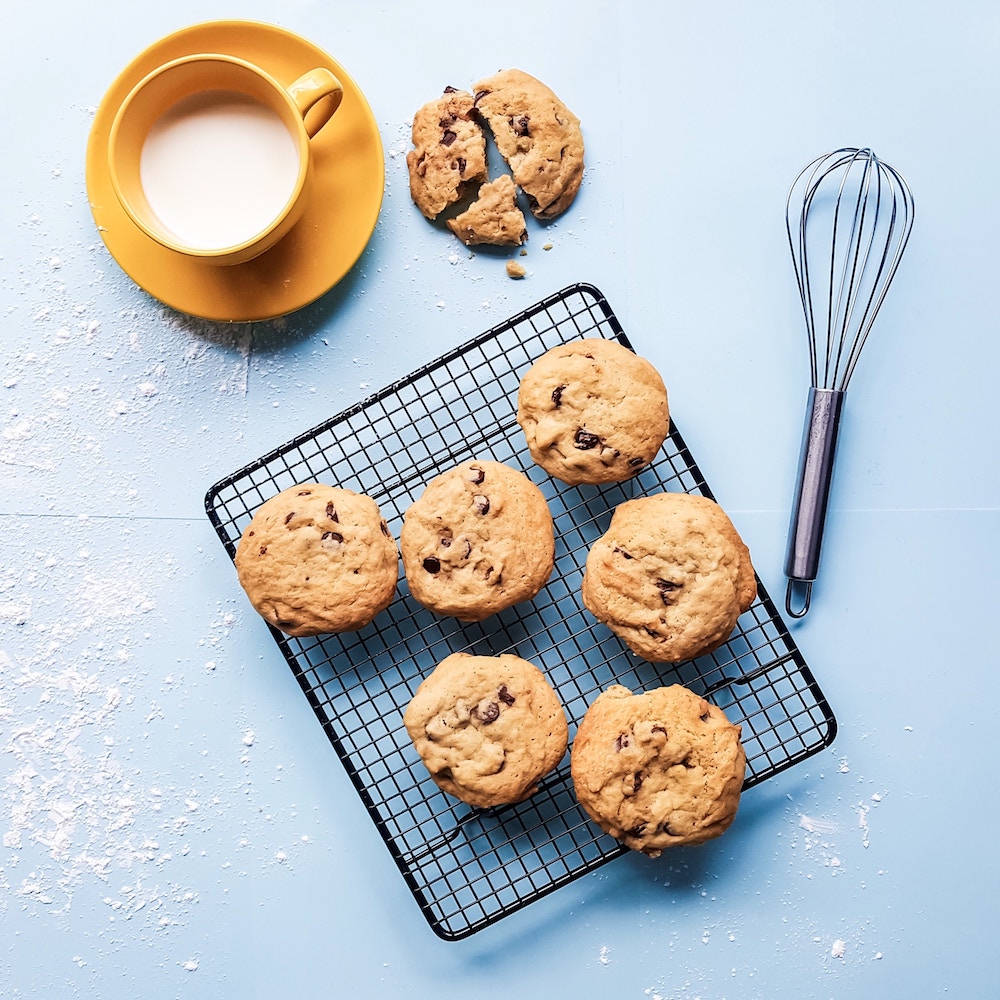
Nevertheless, excellent food photography should, ideally, showcase the dish and ingredients in an artistic way, and have good composition. Food photography should make you want to eat the dish in the photo (or eat something) immediately. It should also tell a story, or be able to evoke an emotional reaction; the nostalgia of a hearty, home-baked roast, the warming smell of crumbling cookies filling mum’s kitchen, or the subtle aromas of a romantic Italian feast and the memories this may conjure.
Food photography equipment
If you’re serious about food photography, you will need at least a few key pieces of equipment. But it can be hard to know where to begin. Photography is so subjective that we all have different preferences on cameras, lenses and photography styles.
How your finished images look depends on many factors, such as styling, composition, lighting, and editing, but to lay the foundations for all this, it does help to have a high-quality camera and lens.
It’s important to note, however, that you don’t need to spend a fortune. You can still achieve fantastic results with second-hand equipment or less affordable camera and lens options.
Your list of equipment can be built on as you go, and how much you spend will depend on what you are using your finished photos for, but your photography kit should consist, at the minimum, of:
- A DSLR camera
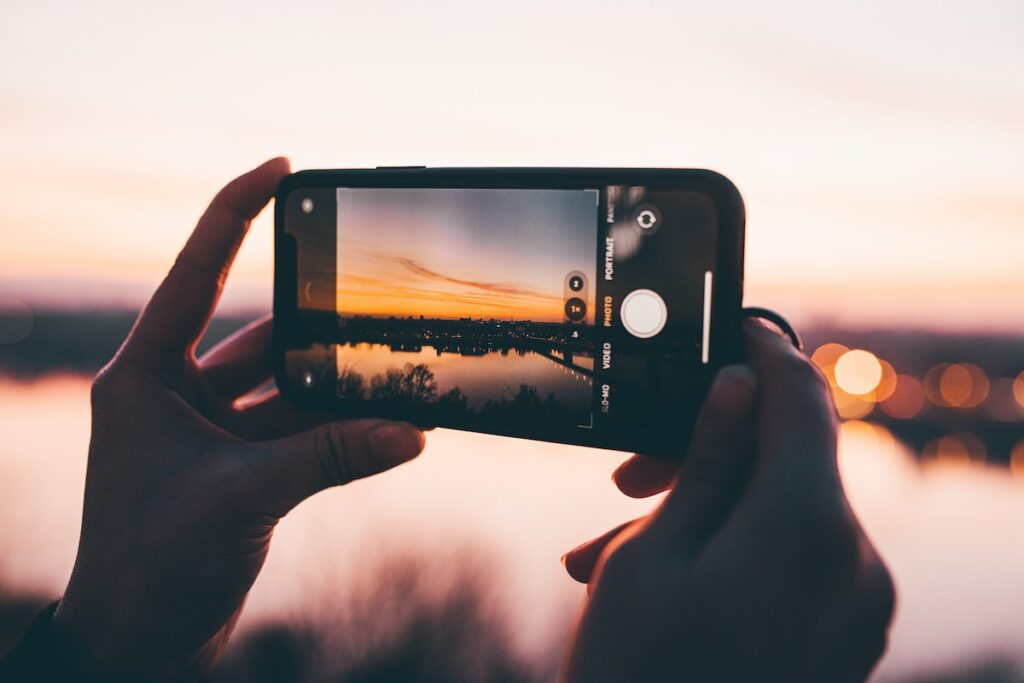
When you’re just starting out, you can get by with a point-and-shoot camera, or even just your smartphone. Photos on your smartphone can look surprisingly good with the right editing. However, when you want more control over the elements in your photo, you’ll want a DSLR. Even entry-level DSLR cameras can be sufficient, and for food photography, the most important aspects to look for are high levels of ISO and the ability to shoot multiple focal points. Ideally, you’ll need a camera which can shoot in RAW as this gives you greater wiggle-room when it comes to editing.
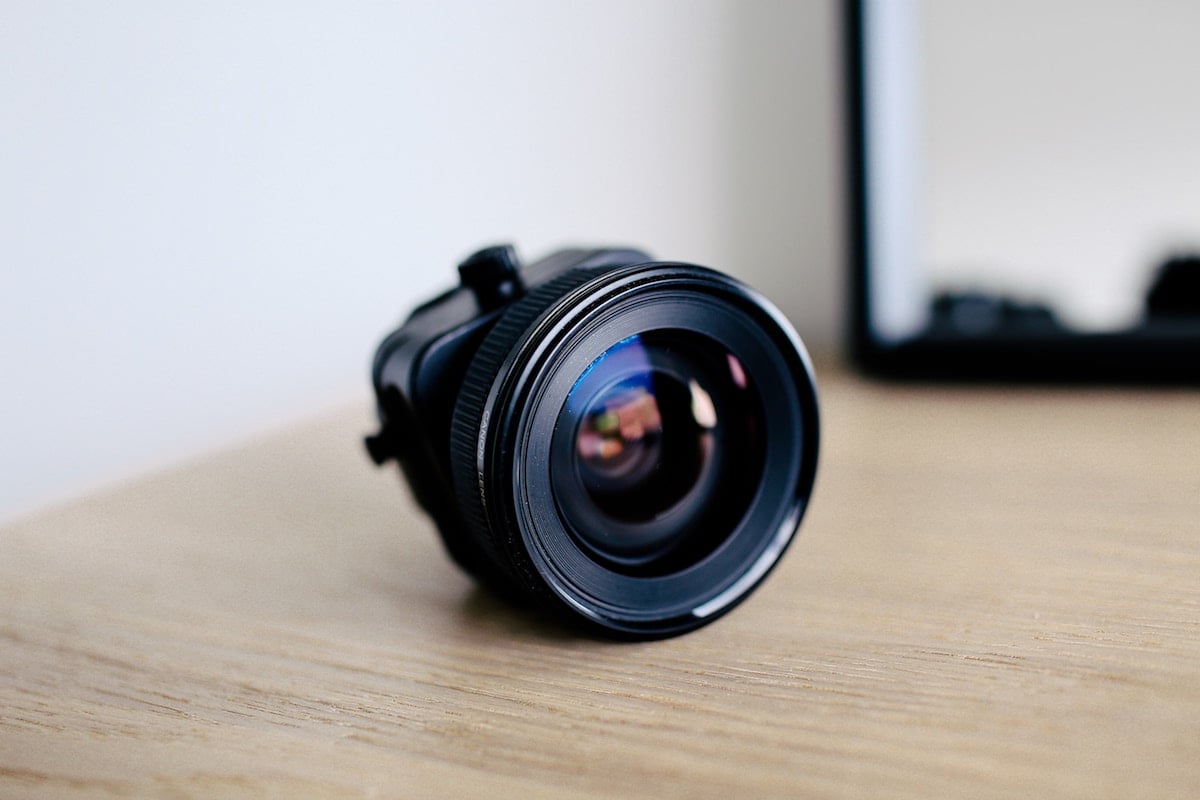
- A high-quality camera lens
Your camera lens is more important than the camera in itself, and it is not uncommon to spend more money on the lens than you will on the camera. A 50mm lens is a great option, as it will result in a sharp image with high picture quality. It will also give you a wider angle, perfect for when you’re aiming to capture a larger share-style table of food. A macro lens, however, can be helpful if you’re trying to capture the more minute details in your food.
- A tripod
If you’re getting some blur or distortion in your images, a tripod is your best bet, giving you the control you need to capture strong, sharp images. A tripod will also mean you have more freedom to make tricky styling changes in between scenes without changing the camera angle.
- Editing software
There are a range of editing software types available, with some of the best being Adobe Lightroom and Photoshop. Both have great capabilities to edit food photography, but Photoshop has slightly more advanced capabilities. It will allow you to do more complicated modifications, like airbrushing or adding layers. Lightroom, however, is usually more than sufficient for all levels of food photographers, so it really is about personal preference and how you’ll be treating your images. Some photographers even use both Lightroom and Photoshop at different stages in the editing process.
- Styling props
Props can serve to make or break your shots. Ideally, you want your props to enhance your images without visually overpowering your hero (yes, that’s the food!).
Food photography tips
Once you’ve got all the equipment, now you need to get the shot! There are a few key elements that you’ll need to get in line in order to create food photography magic.
Over time, as you learn the craft of food photography, you’ll grow the skills you need, and develop your own likes and dislikes when it comes to styling and composition. For now, here are our top food photography tips!
- Lighting
Artificial light can create beautiful images, but it can sometimes create a harsh, yellow glow if not used correctly. If your image is shot and edited the right way, you can absolutely still create a fantastic shot using artificial light.
Natural lighting will give your food photography the best light, however, it’s not always easy to achieve when you are shooting indoors. Ideally, you’ll have a room with plenty of light from windows. Avoid the hours around midday, as it can be too harsh, creating deep shadows. The best natural light is either in the mornings or afternoons and evenings. You want shadows to enhance your photos, not overpower them.
Subtle shadows are much more flattering to your image, giving it added depth and dimension, without overpowering it. Luckily, natural light can be directed using reflectors and light diffusers, which can be bought online cheaply.
- Start with a clear vision
Have a strong vision for what you want the shot to look like before you begin. Once you cook your food, you’ll only have a short window to shoot your food before it starts to spoil and look less than appetising. This is why we recommend researching styles and creating inspiration boards using magazines or social media. Again, this will become easier over time as you start to automatically recognise what works and what doesn’t.
- Backdrops
With styling comes backdrops. Luckily, backdrops can be purchased fairly cheaply online. You can buy cardboard or plastic variations, but avoid anything with a sheen, as this could create reflections. Avoid bright colours too, or shiny surfaces, as this will reflect light. Remember; you don’t want to take the attention away from your subject, so backdrops should be subtle. You could go with options like; white-washed wood or light timber, white marble, a washed-out floral vintage tablecloth, light yellows or pastel colours, or if your style is a little moodier, go dark with charcoal tabletops or dark timber variations.

- Food photography props
Props can serve to enhance your images, as long as you don’t let them overpower the shot! But where do you begin? It can be difficult to define your unique style, but if you’re not sure where to begin, start with Instagram and Pinterest, or look to your art influences, or even your wardrobe and interior design. Which kinds of styles do you prefer? Do you prefer white and minimalistic? Or dark and moody? Or a rustic, farm-style look? Before you go prop-shopping, define your look by creating a Pinterest-board. This will dictate your props, even down to the kind of cutlery you might use. Be sure to check what you have lying around the house; things like old newspapers, wrapping paper, twine, or artificial flowers can come in useful. Failing that, Etsy and eBay can be great sources when you’re just starting out.
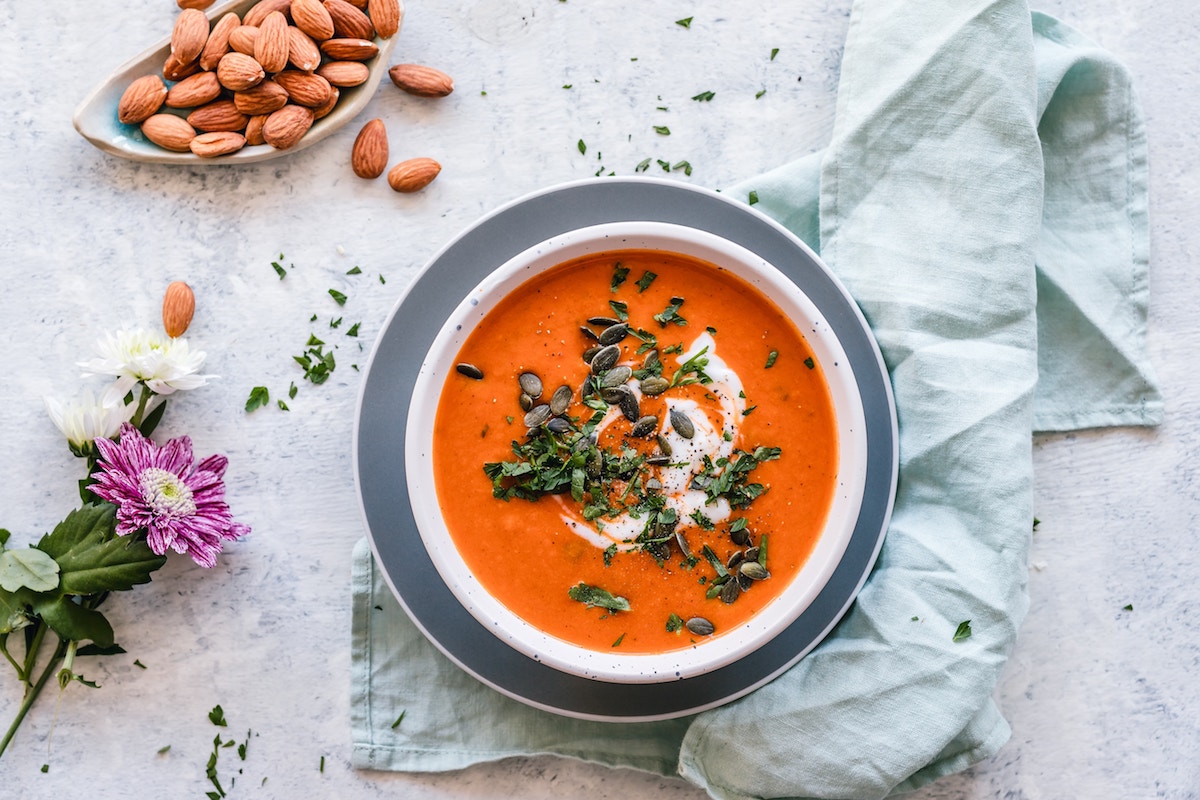
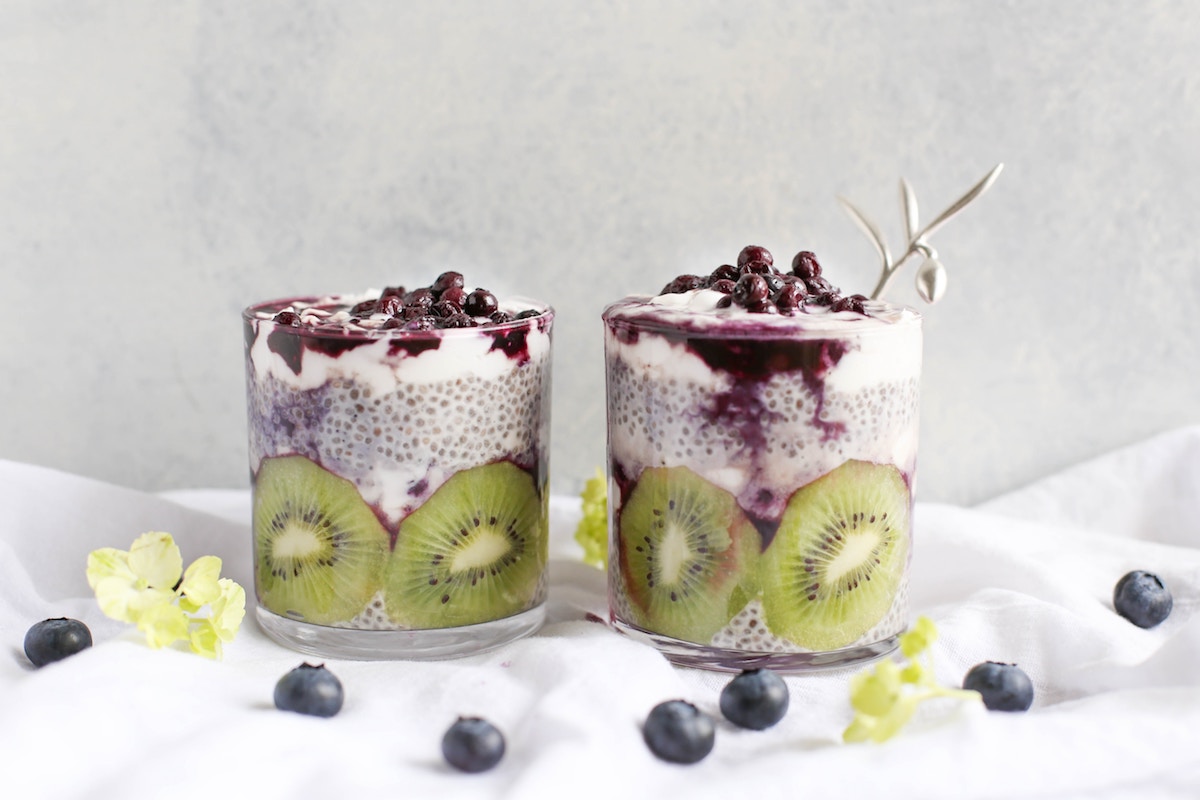
- Use colour
Good food photography utilises a variety of colours and, ideally, your images will showcase this. If you’ve created a soup or dish where you’ve combined your ingredients, you can save some for a garnish, or to use as props. When composing your recipe and your shot, consider how contrasting colours can improve your shot. Try to use opposing colours to create an intriguing shot.
- Styling your shot
Your food photography styling will dictate the mood and tone of your images.
Decide on your angle before you begin styling, otherwise, you’ll need to re-style the shot again if you decide to change the angle.
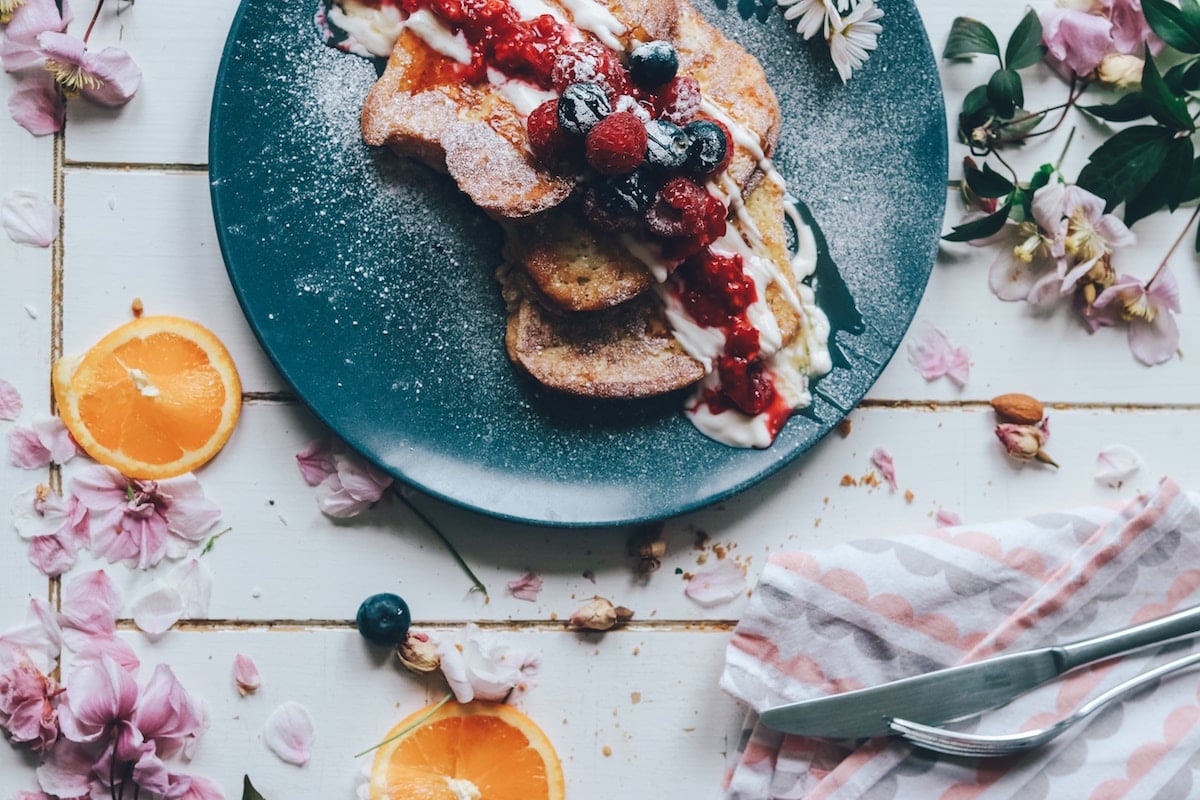
Try to arrange the food in your shot in interesting and unique ways. Always clean up the mess on the side of or around the plate. Add interest to the shot by adding garnishes, spices, berries or other toppings.
- Composition
Use lines and layers to direct the viewer’s attention to the main focal point; the food. You can do this using cutlery or the lines from other props. It may take time before you figure out how to strike the perfect stylistic balance in your shots, but practice makes perfect.
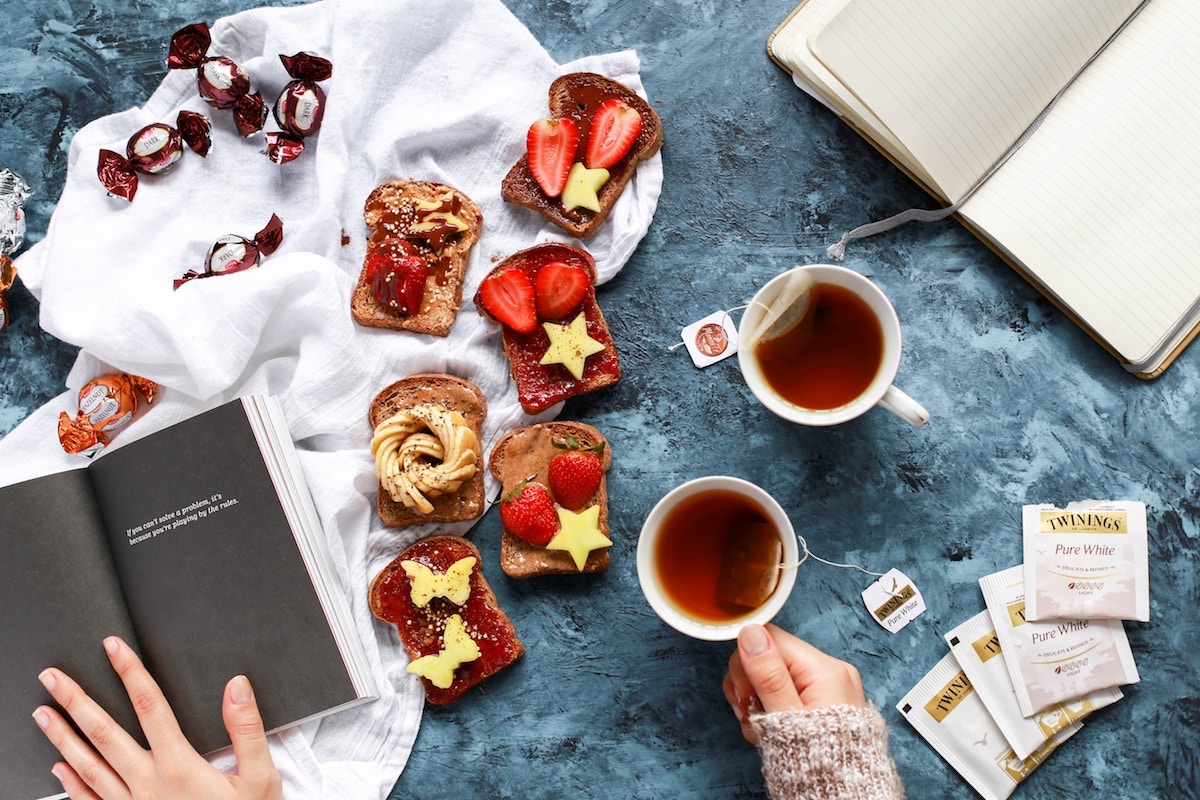
- Create a story
What really brings your shots to life is creating a story within your images. Props can be used to create food moments; snuggling up with a cosy blanket and porridge on a cold morning using a book and the edge of the blanket as a prop. You can also theme your style aesthetic around your dish; if it’s Japanese, you could style your shot with chopsticks and Japanese embroidered napkins.
Think about how you want to portray the food; do you want to call attention to the texture, the colour, or the shape? Try to convey that in your shoot.
- Preparation
Plan your photos in advance. Once you have gathered inspiration and settled on a stylistic look using your prop, create a clear brief of what kinds of shots you want to capture. You should have a clear idea of what you want before you begin.
- Work your angles
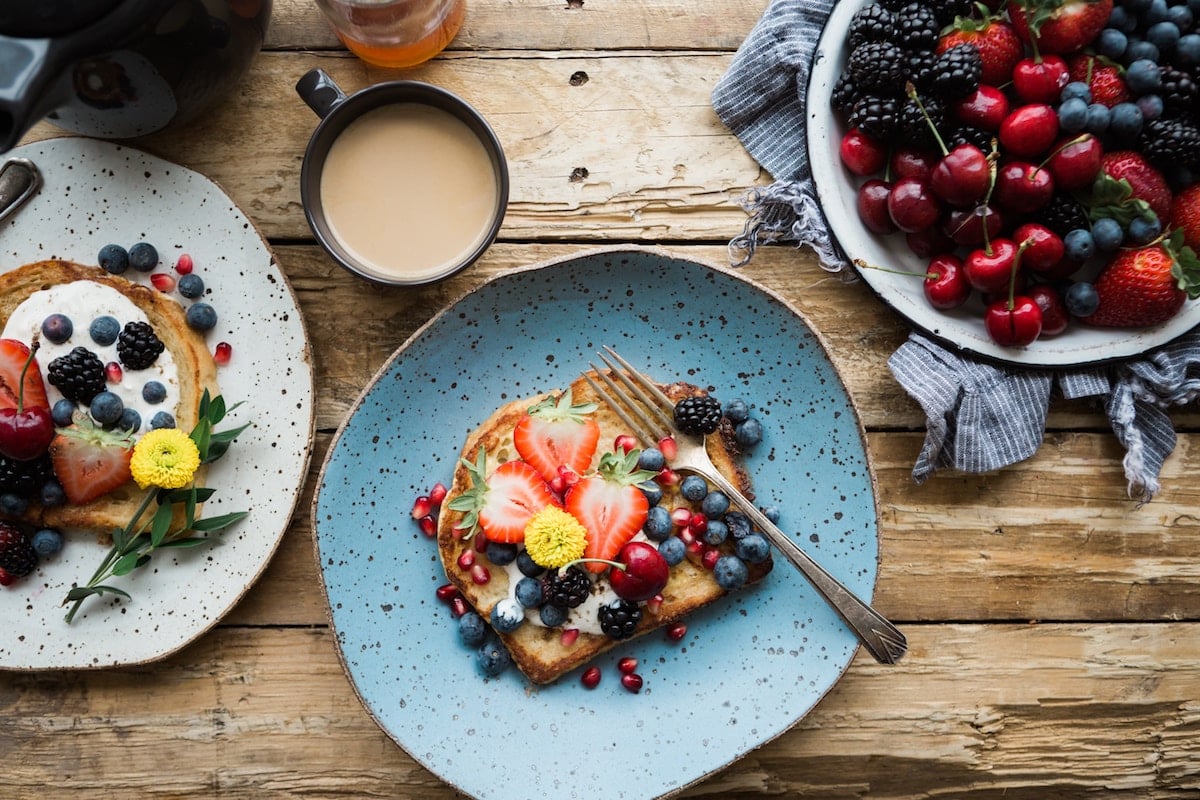
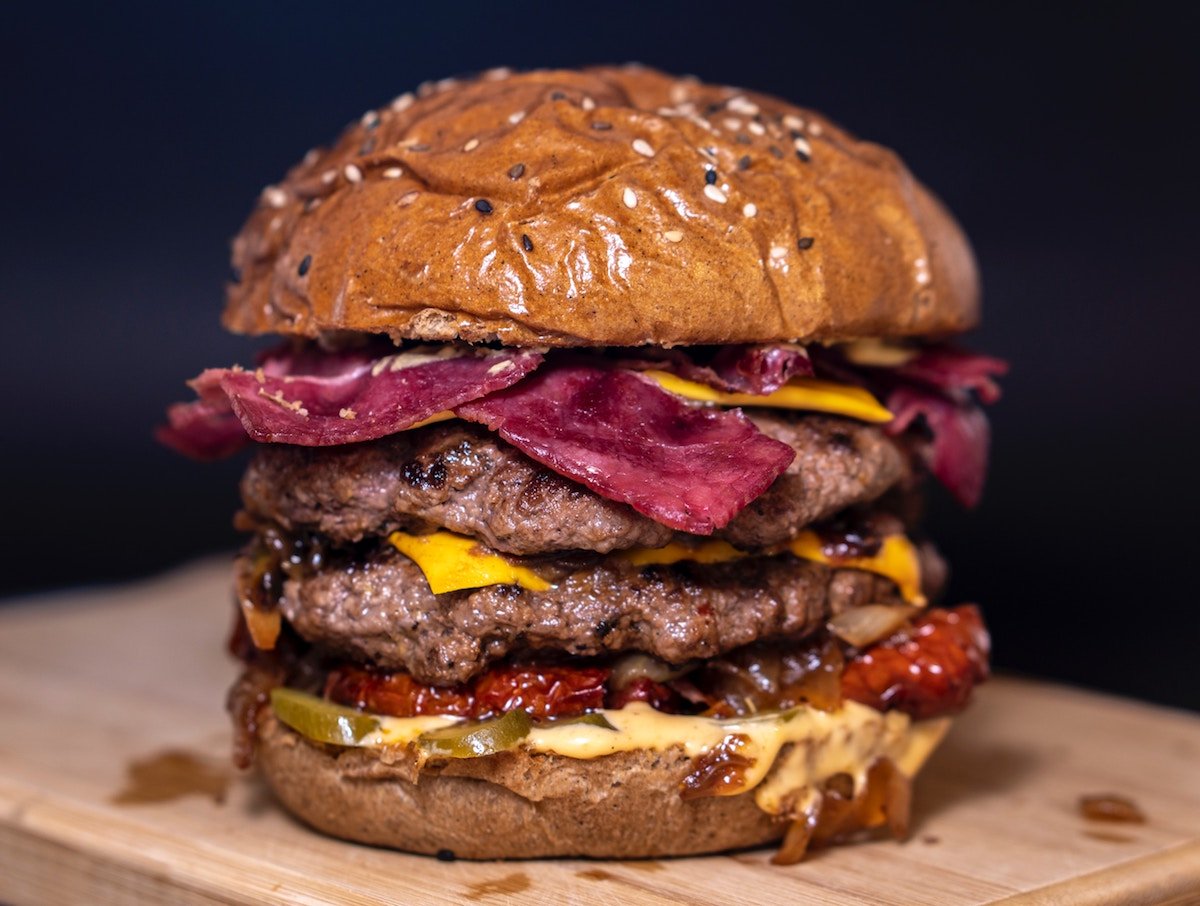
There aren’t many angles to choose from when it comes to food photography. Again, this should be decided on prior to creating your food. Some foods look best from above, like smoothie bowls and sumptuous spreads. Others look better from the side, such as burgers, sandwiches or breakfast stacks. A diagonal shot can ensure you have included some of the detail from above, yet the food will still have a three-dimensional look.
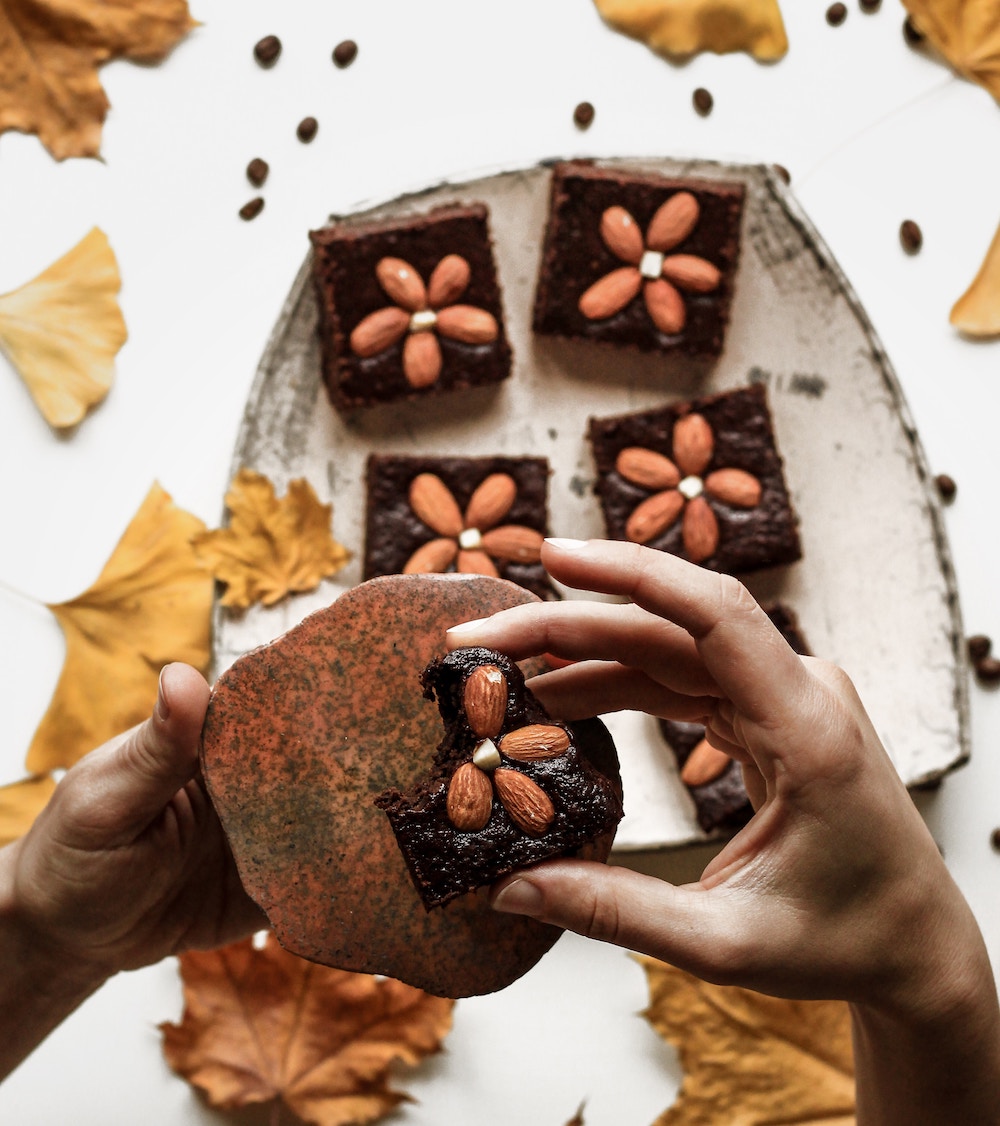
- Add a human touch
Still life photography can sometimes be difficult for your audience to connect to, as it contains all objects. By adding a human touch, we start to picture ourselves in the image and get a sense of how we would react with the food. A simple hand reaching for food, pouring a sauce or sprinkling salt on the food can add a nice human feel to your images and can help to tell your story. Multiple hands can give the impression of a feast shared among friends, or two hands together can speak of a romantic dinner shared between two.
- Editing
While it is crucial to get a good shot, much of the magic happens in the editing process. The way photographers edit varies depending on personal preference.
Even small adjustments such as fixing the white balance to ensure that your image doesn’t have a coloured tinge can help. Simple tweaks like changing the contrast and sharpness of the photo can make a huge difference to your picture quality.
- Develop your own unique look
It will take time and practice to develop your unique look, and while this may change over time or vary depending on the scene you’re shooting, you should try to stick to one look that defines your work. For example, some photographers always have a rustic look, yet this will change depending on the theme and dish being served.

- Food photography tips and tricks
And, finally, a few tricks to help you get the perfect shot:
- Use corn syrup to make things stick. If you need sprinkles to stick, or
- The shine of cutlery can affect the light in your shot and become distracting. Spray your cutlery with anti-glare spray. This
- Use the floor to shoot, if you have a great floor.
- Use oil to make your food look moister.
- Put your garnishes in icy water to ensure they don’t start to wilt and look sad.
- Use small props to ensure they don’t overpower your shot, or only have half the prop appear in the shot.
These tips should help you start to hone your food photography skills to perfection and develop your own unique styles. The key to perfecting your craft is to practice, practice, practice, and keep searching for new inspiration.
Once you have your stunning food photographs, turn them into high-quality canvas prints with Canvas Factory.