Once you’ve mastered the basics of photography, why not learn a few different photography tricks to spice up your game? These photography hacks are suitable for all levels, from beginners to photography experts who have been in the game for decades.
The best part? No fancy equipment needed. If you’re keen to impress your friends or simply want to learn some new and creative photography tricks to up your game, read on.
10 Creative Photography Tricks
If you’ve got a little spare time on your hands or you’re just getting bored shooting virtually the same scenes in the same way, these photography tips and tricks might be just what you need. After all, practice makes perfect, and you should never stop being inspired!
1. Use window light
Who says you need an expensive studio to create the perfect light for taking stunning images? If you’re shooting at home, you can still experiment with a range of photography tricks.
Get the look: Use window light to create various photography effects, playing with shadow. Use a reflector to manipulate the light and open up any dark shadows in your shot.
Just watch out for any reflections of colour from outside the window as it can cast unsightly reflections on your scene. Green grass, for instance, can cast a greenish hue on your model, if you’re shooting a portrait.

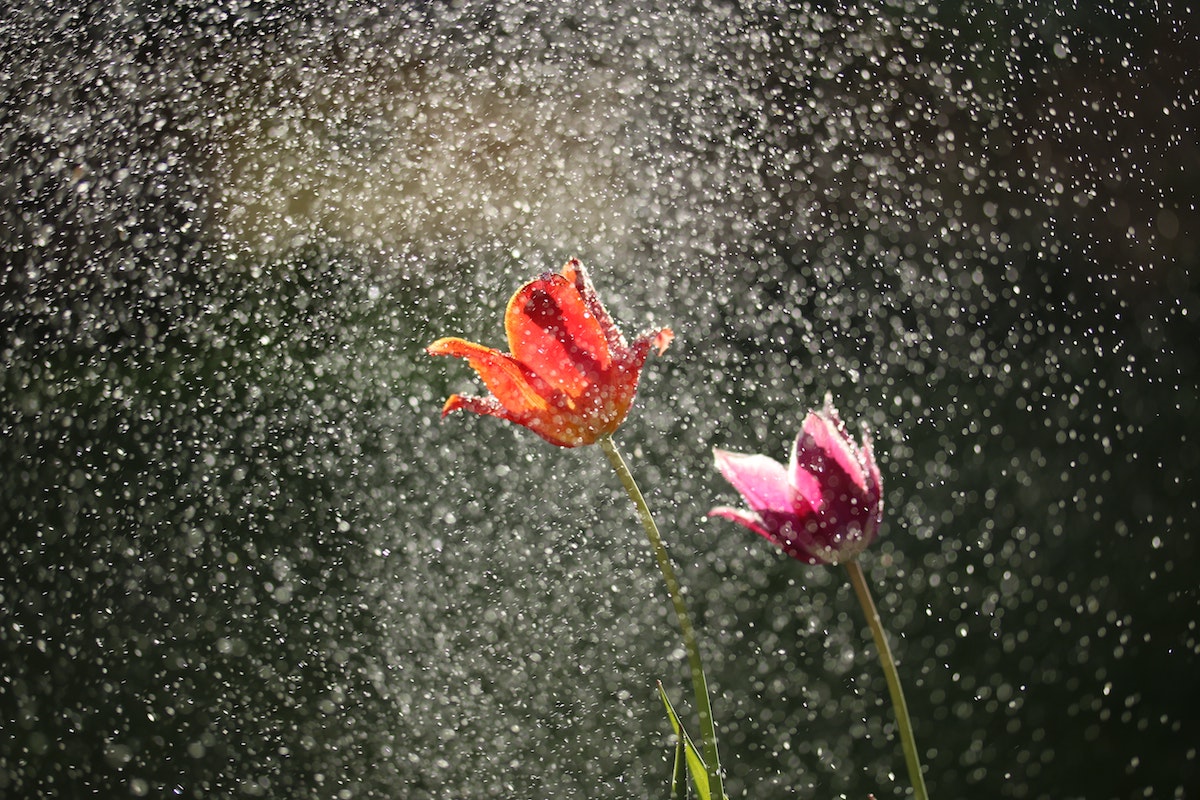
2. Use water
A fun photography trick to experiment with is using water! Experiment with water at home (with care) using the help of an assistant.
Get the look: Ask your assistant to spray water behind the subject you’ll be shooting with a water bottle, or use a hose outside as a way to create “rain”.
Just beware not to get your equipment or your subjects too wet and ruin the shot! Some cameras or lenses are much more sensitive to water than others.
You could also spray water droplets onto a piece of glass, and shoot through it to give the effect of shooting through a “window” on a rainy day.
Our tip: These images can make great fun prints for kids. You could even print them in a range of shapes on acrylic to make them even more impactful.
3. Use burst mode, especially when taking group shots
It’s hard to achieve that perfect image when you’re taking a group shot. You know, the shot where everyone is paying attention, hasn’t got their eyes shut and are posing correctly.
Clear direction is essential in group shots, but it also helps to use burst mode. If you’re not using a fast shutter speed or burst mode for group shots, you could be missing out on some great images.
An easy photography tip is to use burst mode to capture those moments in between shots. You can also capture some hilarious and truly unique moments in this way.
Get the look: Simply turn on the burst mode on your camera, and shoot! You could even tell your subjects to move naturally to capture a burst series and get some interesting variety in your shots.
4. Create a magical panorama
This clever photography trick will have your friends scratching their heads! Be in two places at once by creating a panorama where you (or your subject) appear in multiple places in the same shot!
Get the look: Enlist the help of an assistant to either feature in the image or shoot you. Plan 3 or 4 positions where you’ll have your subject photographed in the shot.
Take your panorama very slowly, moving from left to right. Each time, ensure your subject is in position and not moving while you pan across that section of the frame.
It’s crucial that you get your subject to run behind you and move across the scene again, coming from the right each time, so they’re not seen moving across the camera. You might have to play around with the shot a few times before you get it right!
5. Use a sandwich bag for a blurred effect
Who could ever doubt the magic of a simple sandwich bag to create an ingenious photography trick! A sandwich bag will create a dreamy haze over your images, and, unlike other tricks which involve smearing something over the camera lens (not advisable!), it will keep your equipment safe.
Get the look: Simply place the sandwich bag over the lens, and create a hole in the closed end to fit your lens in. Just make sure the opposite side is covering some of the edge of your lens glass to create an effect. You’ll need to experiment to find the best effect for you!

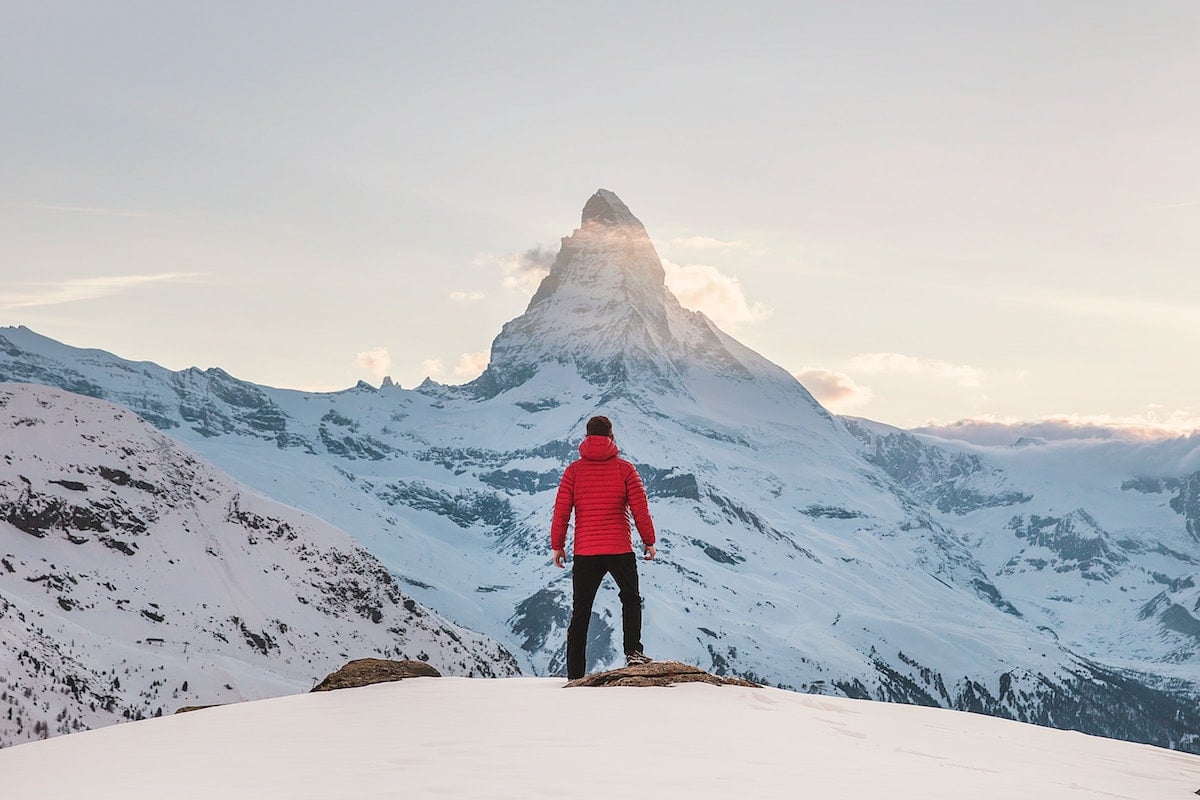
6. Create a sense of depth and dimension
Most seasoned photographers will already have a strong understanding of depth of field, but it doesn’t hurt to be reminded! This photography trick is all about making the viewer feel as if they are really there in the scene.
Experimenting with depth of field is popular with landscapes, in order to give the audience the fullest impression of the vastness of the scene before them. However, depth can be handy in many other photography types, such as street photography or even portraits.
Get the look: Make use of the foreground, middle ground and background properly, and compose your image by taking all three into consideration. A small flower in the foreground of an image of a large mountain gives a scale for comparison.
Set a wide aperture and have the background slightly out of focus, to separate your subject from the background.
For landscapes, use a wide-angle lens and set a small aperture to keep the background and foreground sharp. Again, keep an object or person in the foreground to establish scale and help the audience imagine themselves within the scene.
Our tip: Landscape images look great printed on split canvas prints. They create a high-impact and are a great way to decorate large spaces, or on the walls above your bed or the couch.
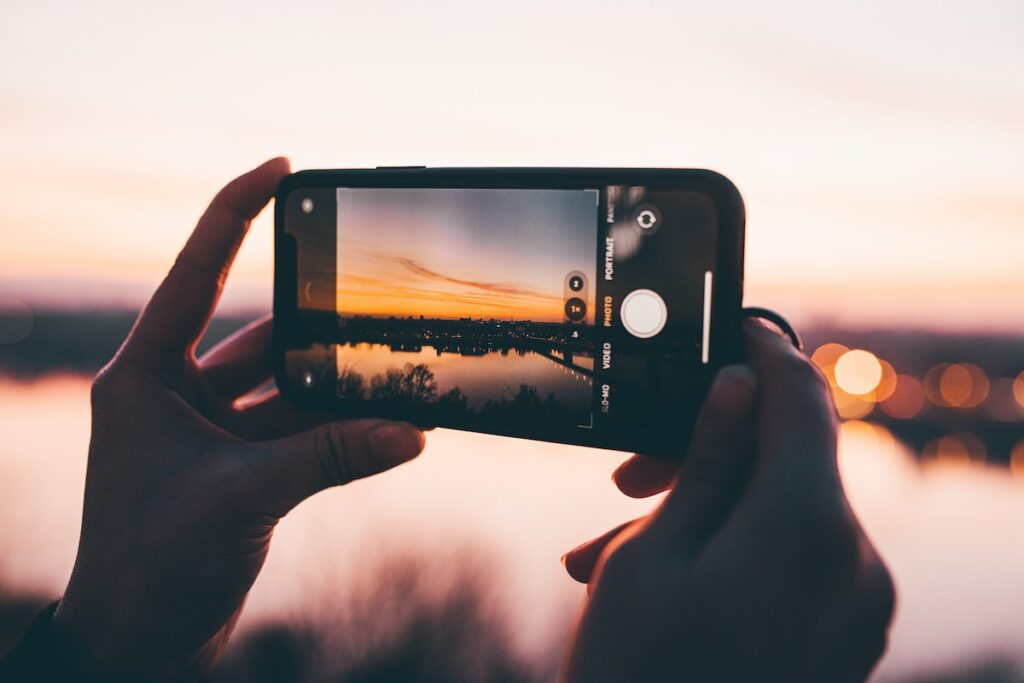
7. Experiment with shutter speed
If you’re shooting landscapes or moving objects, you could experiment with shutter speed to achieve some breathtaking shots.Get the look: Shutter speed is a handy tool that works especially well with night scenes or really any moving objects. Cool scenes to experiment with shutter speed could be:
- Moving cars from a bridge
- A Ferris wheel or another theme park ride lit up at night
- People walking in the city
- Landscapes featuring water
Alternatively, you can also pan the camera up or down or from side to side to create movement.
8. Play with silhouettes
Silhouettes is a classic technique that, if done correctly, can create a striking look that will make a beautiful photograph.
Get the look: To create a photograph with a silhouette, take an exposure reading from the sky.To do this, put your subject in front of a light; ideally, in front of the sun. Turn off your flash and direct the camera towards a brighter part of the sky. Press your shutter halfway down, which should take an exposure reading. If you’re using a smartphone or another camera, just shoot and, if you’re shooting the right way, you should get a great silhouette.
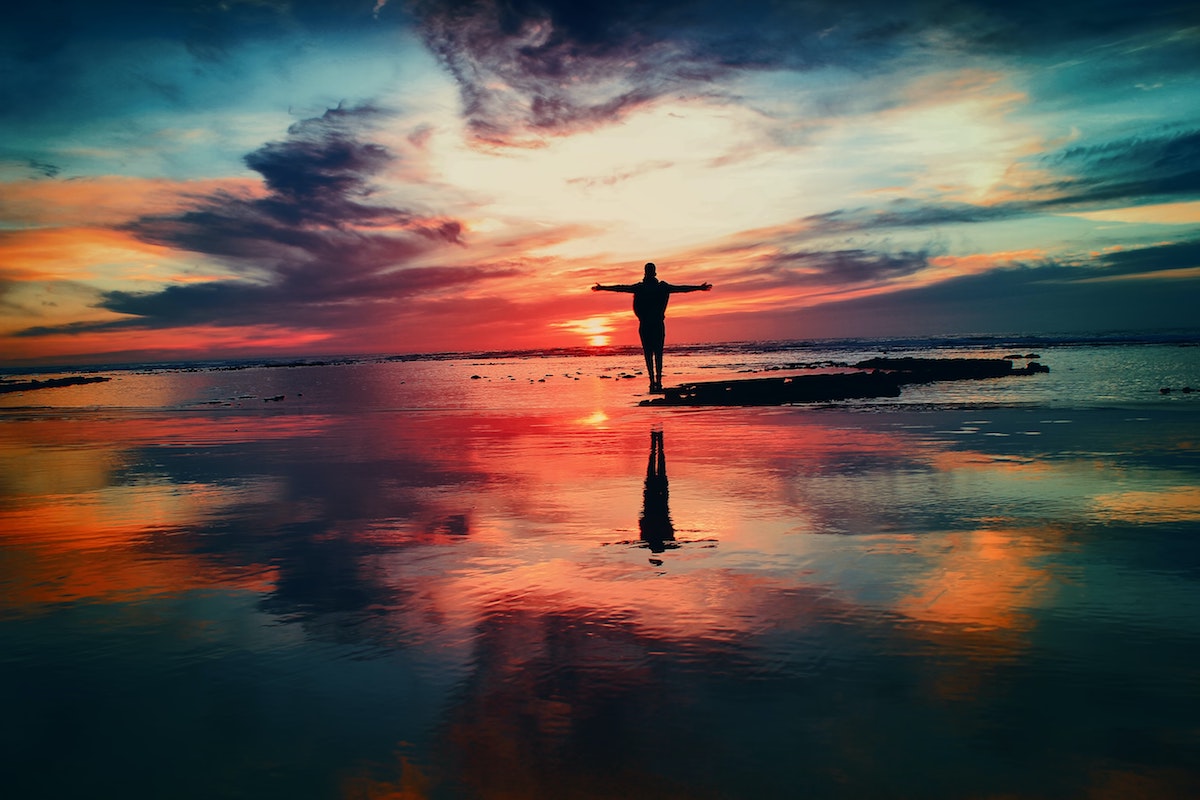
Our tip: Silhouette photographs look stunning printed on high-definition metal prints. The aluminium brings out any rich detail in the image and defines the edges of your silhouette in sharp clarity.
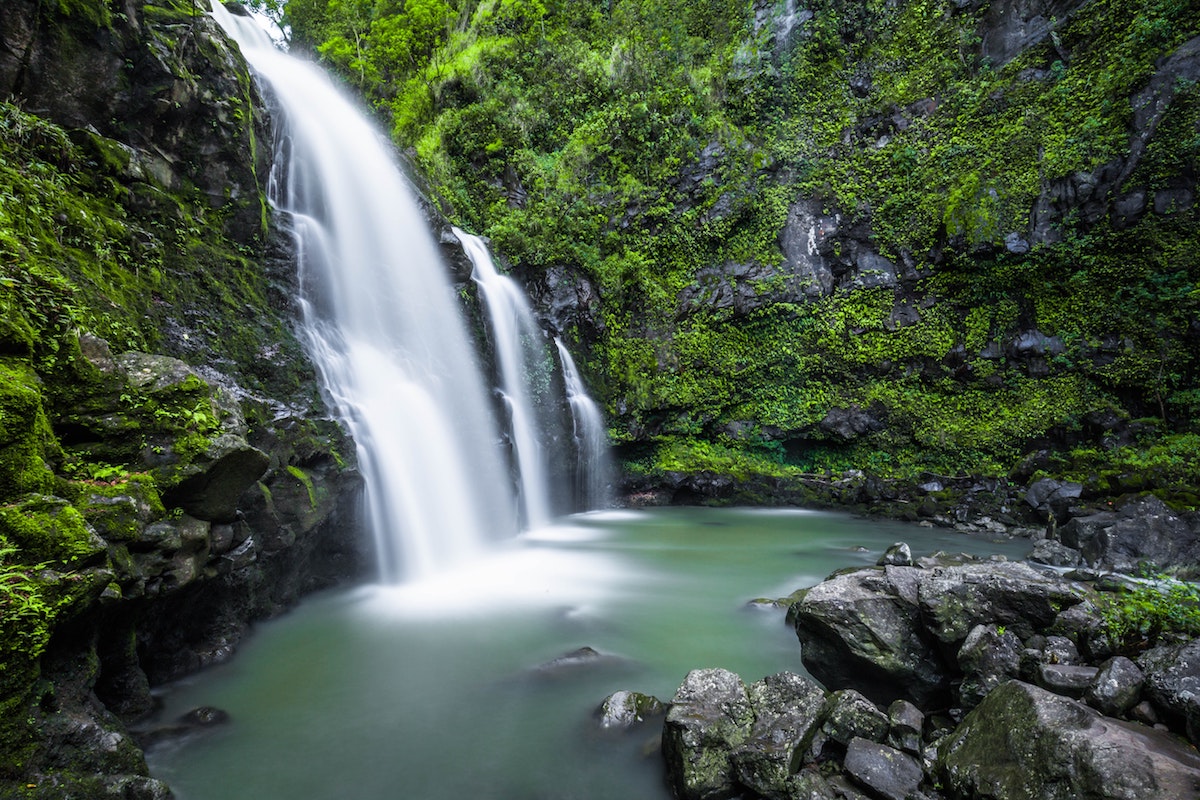
9. Slow down your shutter speed for dreamy landscapes
Ever wondered how photographers achieve beautiful, dream-like images like gently flowing waterfalls or a softly moving lake in front of a mountain? It’s likely they’re using a neutral density filter and a slow shutter speed to achieve their shot.
Get the look: To achieve this look, use a tripod to ensure your camera is steady. If you don’t already have a tripod, they can be purchased cheaply on eBay or Amazon. While you don’t need an expensive tripod, you do want it to be sturdy enough that it doesn’t fall over with your camera attached to it!
Next, attach your neutral-density filter. This is essentially like sunglasses for your camera which, when added to your camera, will allow less light to filter through the lens.
Lastly, be sure to use a low shutter speed to ensure you can capture any movement in your shot, like a flowing river, a gently-lapping lake or soft waves crashing on the shore.
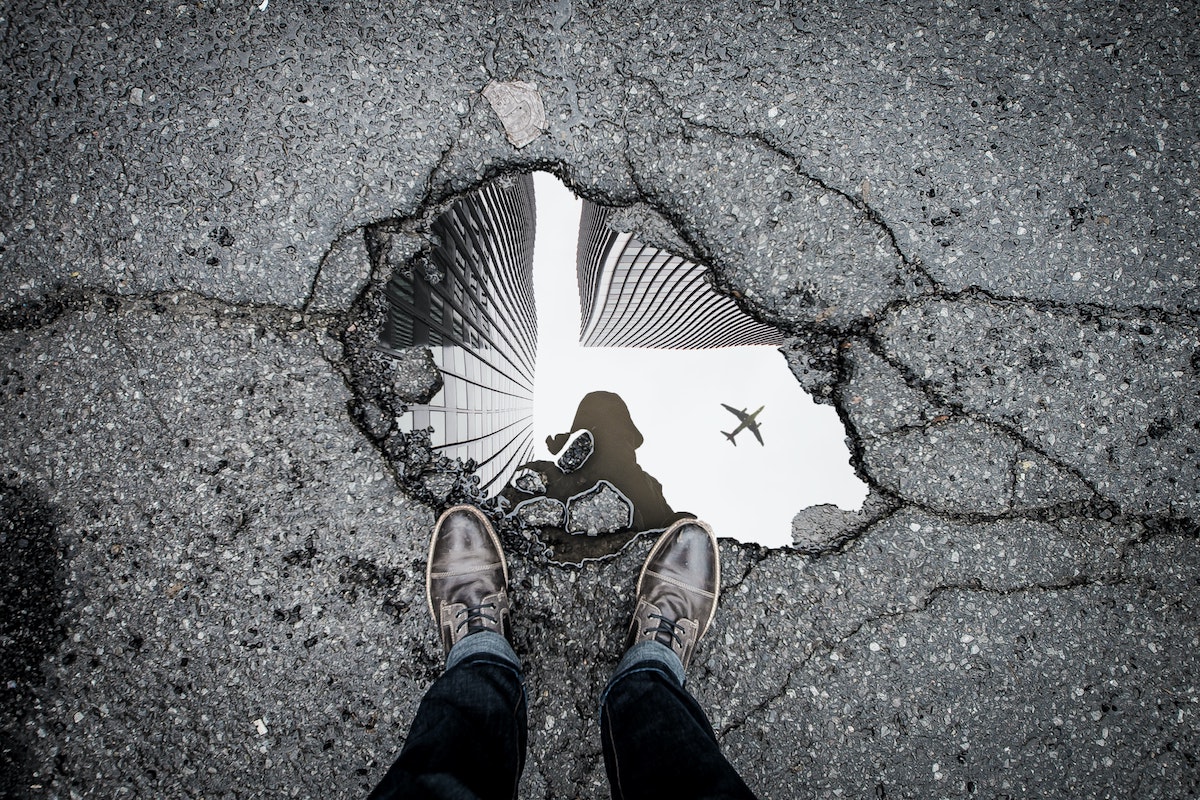
10. Use reflective surfaces like mirrors or puddles
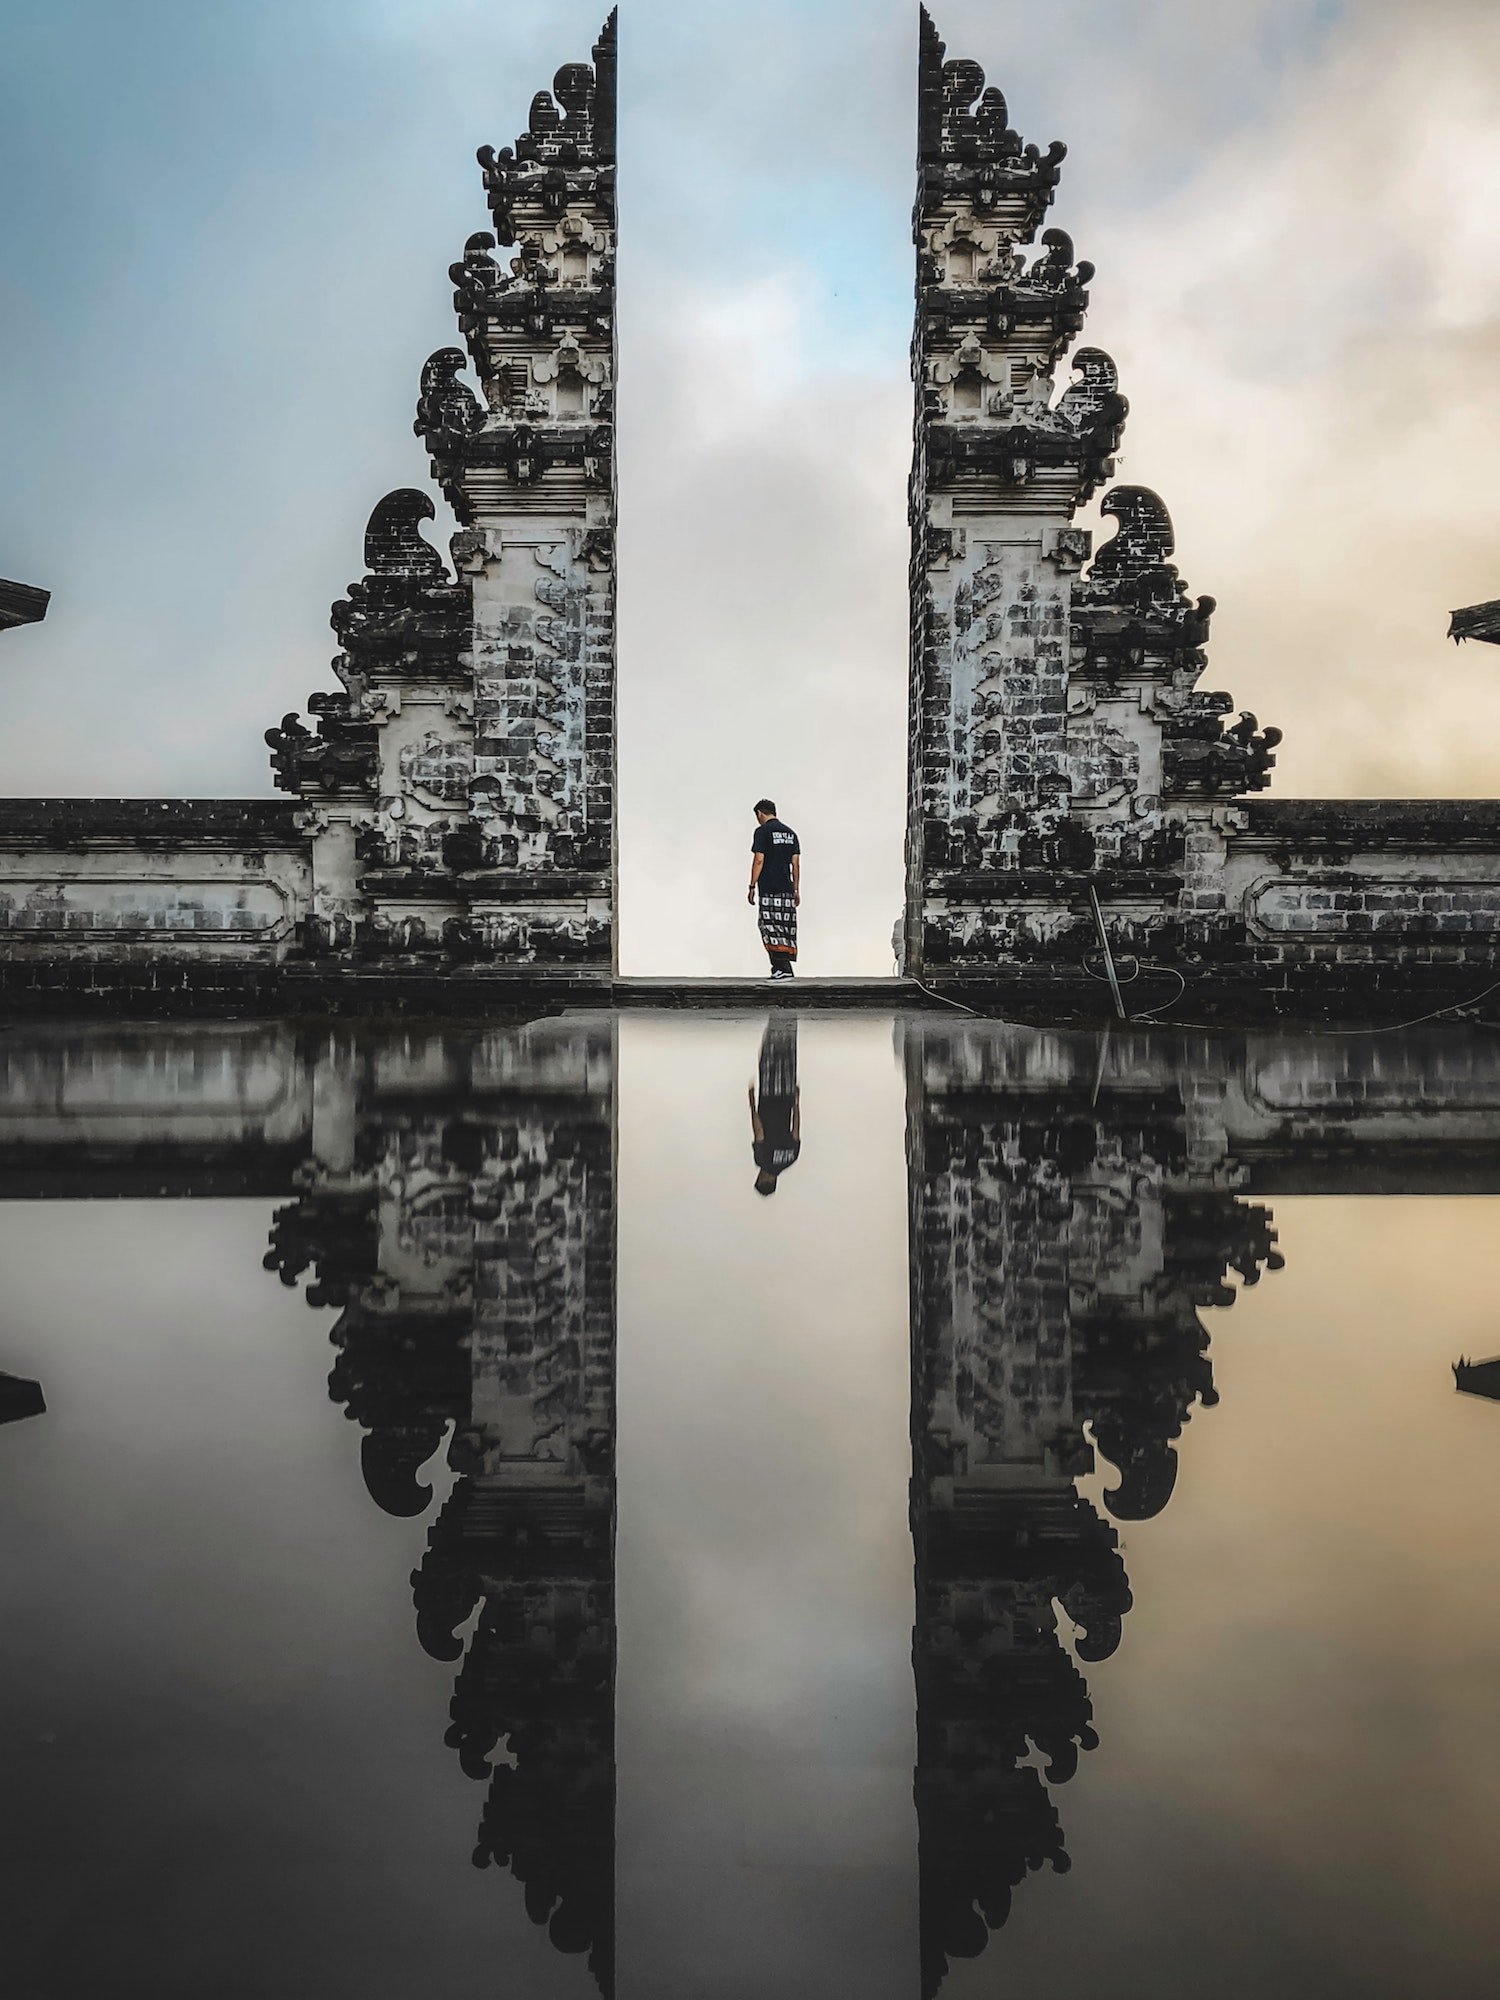
This is one photography tip that will help you create photography magic! This photography trick involves the use of reflections, and this can apply in so many different scenarios.
The reflective surface is used to create a mirror image of the scene you’re shooting. This will create a beautifully-balanced shot that will be highly memorable.
Get the look: To capture this look in all its glory, use a surface such as a mirror to create a reflection. This can be a reflection either in nature, such as a puddle or a lake, or this look can be manufactured with the use of a mirror or other reflective surface.
This technique can be used to create a symmetrical reflection of a beautiful and impressive scene, especially when the alternative is a dull dirt road or grass.
So, there you have it; ten photography tricks you can use to take more creative photos. We hope this list has inspired you and motivated you to try something new.
Once you have your beautiful images, why not turn them into stunning pieces of wall art? Browse our range of wall art prints here to discover which one might work best for your images.