
In a free and fair society, we’re all entitled to…
The Math of Enlarging Photo Prints
It happens to everyone, amateur and professional alike: You begin taking photographs with the intent to sell photo prints or to use them as wall art in your home, and you run up against the limits of enlarging photos. The simple fact is, while you can always make a photo smaller without losing any quality in the image, you can’t make it any bigger than it is without getting blurriness and pixilation. It’s just physics and math; you’re limited by the megapixels your image has to work with.
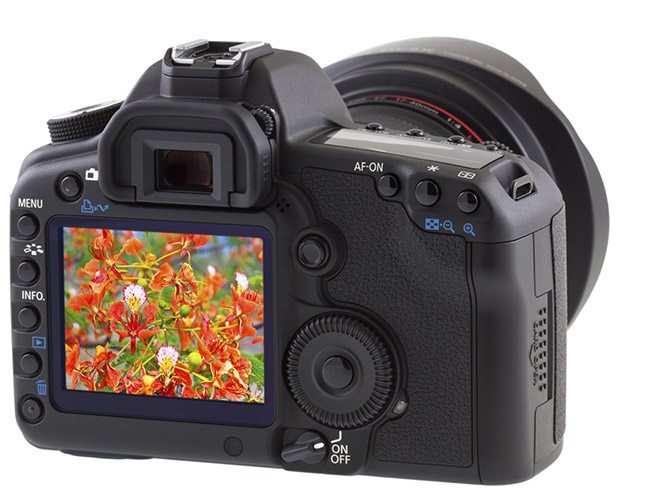
Naturally, this means taking your photos at higher quality settings in general is a good idea, although you have to balance this against the size of the file you’re creating and how you’re going to get them off your phone or camera and onto a hard drive or cloud service. Once you solve that problem, you have another: How can you figure out how much you can enlarge an image – in other words, what’s the biggest photo prints you can make from an image file?
Math to the Rescue
To figure out how large you can print an image file (whether as a canvas print or some other physical copy), you need to know some simple data points about your image, and some simple equations.
For starters, find out the dimensions of your image in pixels. You can usually find this out very easily in an image manipulation program by selecting ‘properties’ or a similar option. Let’s say you have an image that measures 3600 by 2400 pixels.
To figure out how big you can go with those pixels, divide those numbers by 300, which is your typical high-quality ‘pixels per inch’ (PPI) number. Our example image yields 12 x 8 inches – the largest you can print that image before you start losing quality. If you want a larger image, you’ll have to drop the PPI, which will result in blurriness and pixilation, because you’ll have more pixels per inch and thus larger pixels, making them more obvious.
To ensure you’re getting images that will yield the size you want, set the megapixels appropriately. Megapixels means ‘millions of pixels,’ so to find out how high the setting has to be, work backwards. Say you want 15 x 12 photo prints. Multiplied by 300 gets you 4500 x 3600 pixels. Multiplying those two dimensions gives you the megapixels; in this case, that’s 16,200,000 – or 16 megapixels. Set your camera to that and all of your images will print 15 x 12 without loss of quality.
Photo Prints: Enlargement Alternatives
That’s fine if you’re actively taking the photos, of course. What if you have older images that you want to enlarge? The basic rule is that you can’t add pixels, unfortunately. If you use the ‛enlarge’ or ‛resize’ options in your software the results will be disappointing. You have two options to try:
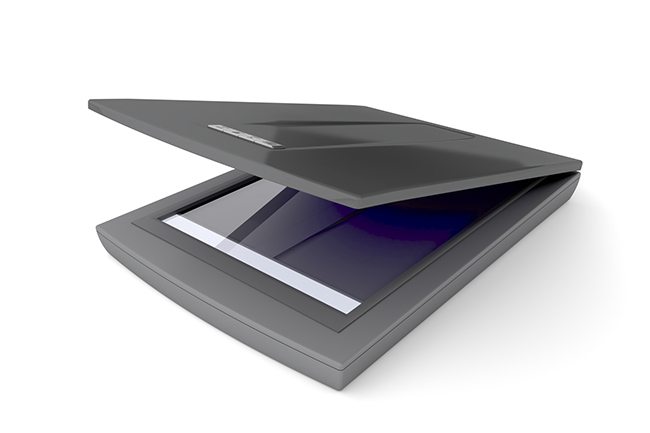
- Scan photo prints. Print out your image at an ideal size for its quality. Then scan it at a very high PPI (or DPI, dots-per-inch, which is sometimes used instead – PPI and DPI mean different things, but essentially the same 300 number is key). Once you’ve bumped up the megapixels, you can print it out at a larger physical size.
- Use Smilla Enlarger (http://sourceforge.net/projects/imageenlarger/), a free program that tries to enlarge photos by filling in pixels with similar colour values. It’s not perfect, but it might work, and it’s free, so no harm in trying.
All it takes to get spectacular photo prints and canvas art from your image files is a little knowledge and a little math. When you’ve cracked the code on your images, click here and we’ll make sure the quality shines through.